There is a box. Maybe it is an actual shoebox, maybe it is a folder on your phone with eight hundred photos in it, but there is a box, and next to it is an empty album you bought with good intentions. The gap between those two things feels enormous. You know roughly what a finished scrapbook looks like, you just have no idea what the first physical move is.
The first move is smaller than you think, and the whole thing is less about craft skill than about order of operations. Make a scrapbook by sorting your photos first, choosing one album, planning a rough running order, then building it in short sessions instead of one heroic weekend. Do it in that sequence and the book more or less assembles itself.
So here is the actual process, start to finish, with no die-cut machine required.
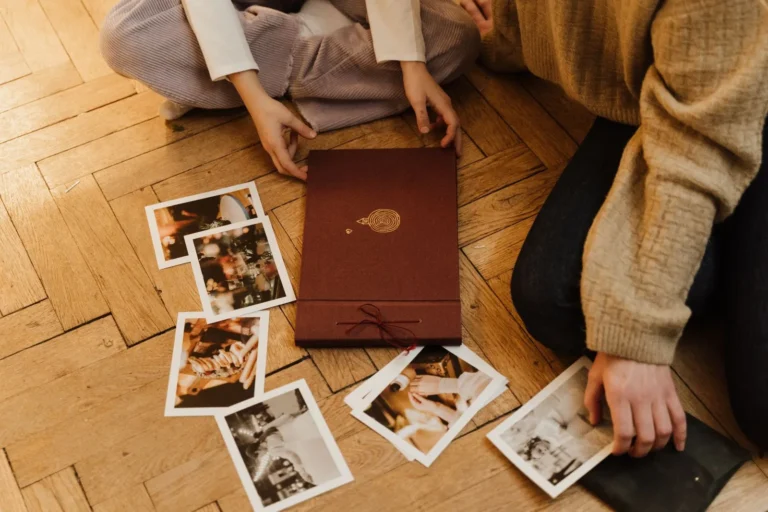
Step 1: Pull and sort your photos before anything else
Almost everyone starts by buying supplies. Start with the photos instead, because they decide how big the book needs to be and how many pages you are really signing up for.
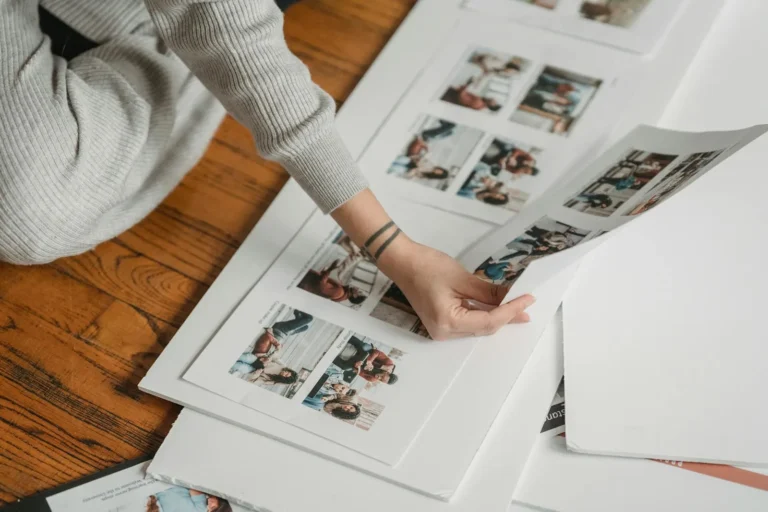
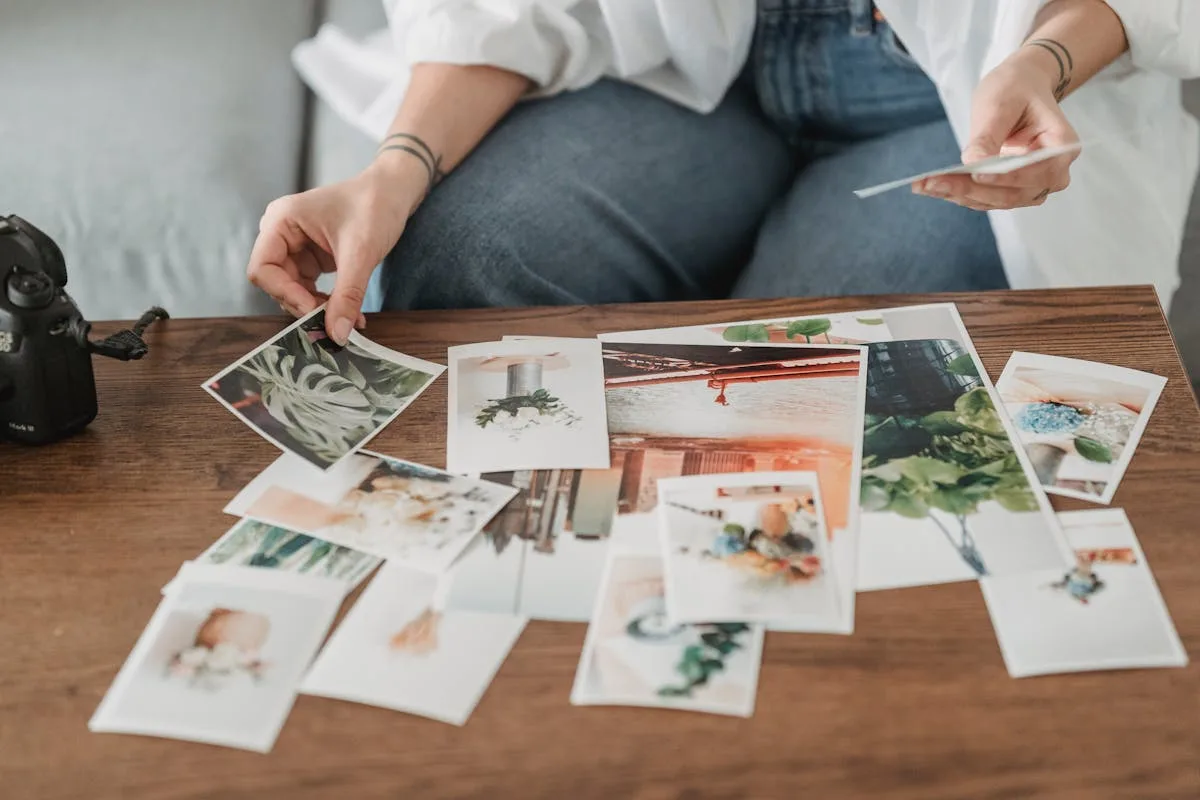
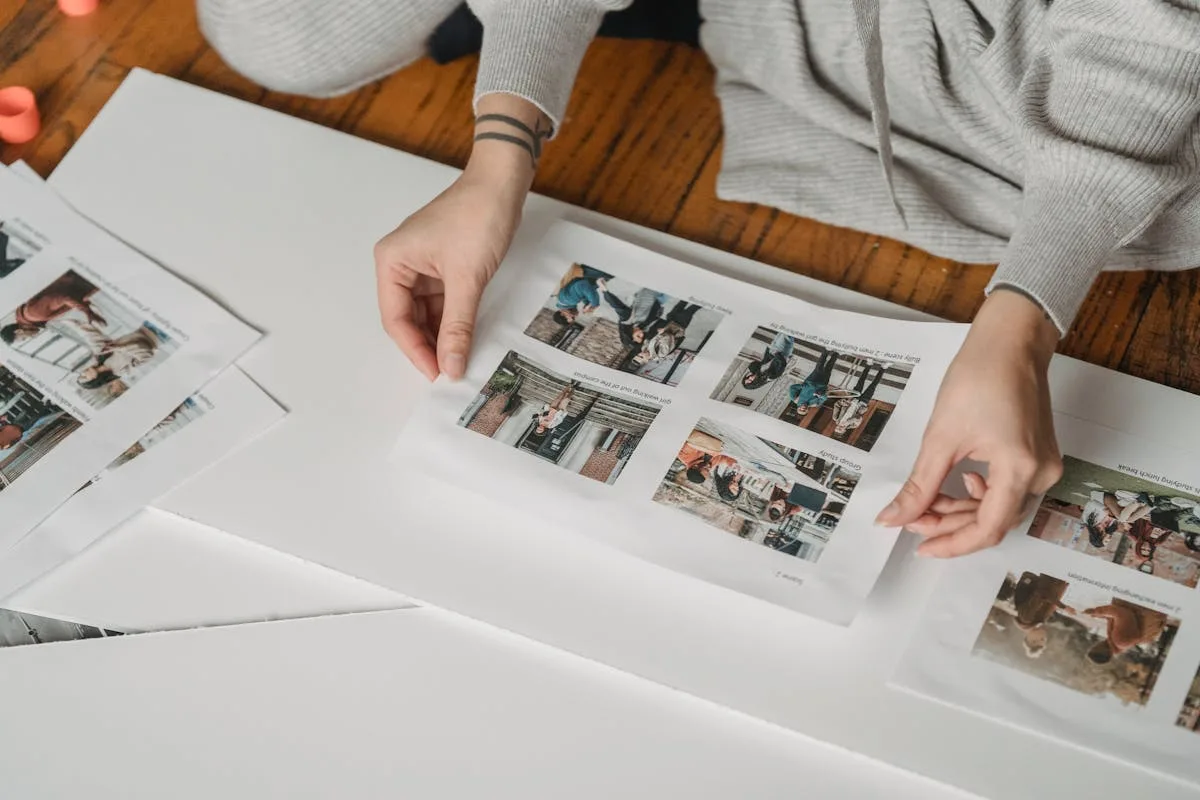
Get your images in one place, printed or in a single folder, and then do the ruthless part: cull. You do not need every shot of the same sunset. Keep the ones with a face, a moment, or a detail you would actually point at later, and let the near-duplicates go. Then group what survives into rough piles or albums by section, usually by event or by month. That sorting is the real planning, and you have not glued a thing yet.
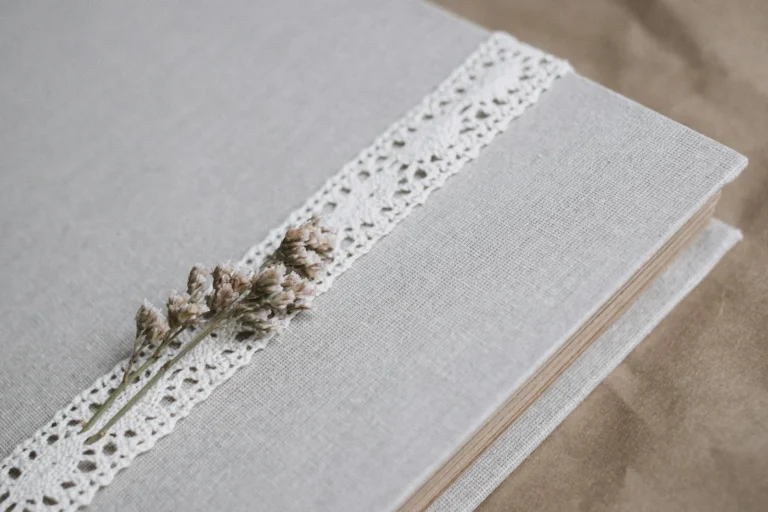
Step 2: Pick one album and stop shopping
The album is where beginners stall for a week comparing sizes. Do not. Album size is its own small rabbit hole, and we go down it in the beginner’s guide to scrapbook ideas. For now the rule is simple: pick the size that fits your photo count, and move on.
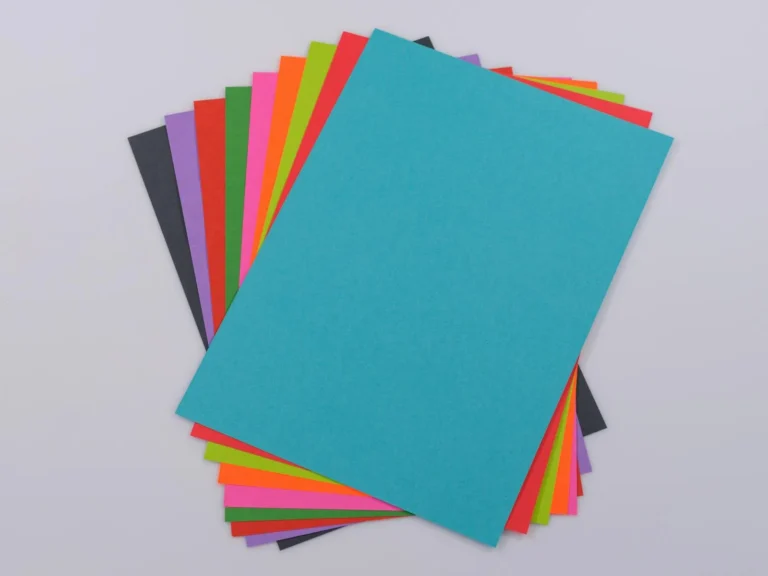
Buy the album plus a refill of page protectors if it is the post-bound or three-ring kind. That is the only purchase you have to make today. Background paper, stickers, and a pen can come after you know what the pages need, and buying them first is the classic way to end up with a drawer of supplies and no book.
Step 3: Plan the running order, loosely
Before you commit anything to a page, decide the order the book reads in. Most scrapbooks run in plain time order, oldest to newest, because it is the easiest to follow and the easiest to build. A gift book might run by theme instead, a chapter per inside joke.
Lay your photo piles out in that order and count roughly how many spreads each section wants. A weekend trip might be three spreads, a baby’s first year is usually one per month. You are sketching the table of contents in your head, not drafting it. This step is what keeps you from gluing thirty pages of July and running out of book by September.
Step 4: Choose one repeating layout
Here is the decision that quietly saves the project. Rather than designing a fresh page every time, pick one simple arrangement and reuse it, swapping in new photos as you go. That single choice removes the most common reason albums stall halfway.
You do not have to invent the arrangement yourself. We walk through the ones that cover almost any page in scrapbook page layout ideas, from the single big photo to the simple grid. Pick one or two, keep them on your phone, and the blank-page dread is gone before you start.
Step 5: Build it in sessions, one section at a time
This is the step that actually makes the book, and it is mostly about pacing. Do not sit down to “make the scrapbook.” Sit down to do one section, or even one spread, and then stop.
Work through your photo piles in the order you set, one section per sitting, and let the layout you chose carry the load. Because the arrangement is already decided, each page is a quick set of moves rather than a fresh puzzle. The page-level craft, matting the main photo, pulling your colors, leaving room to breathe, lives in scrapbook page layout ideas, so you are not solving it again every evening.
What matters at this stage is the rhythm. Twenty minutes here, a spread there, and the backlog shrinks instead of looming. Glue each spread down once it is good enough, and move to the next before you start fussing.
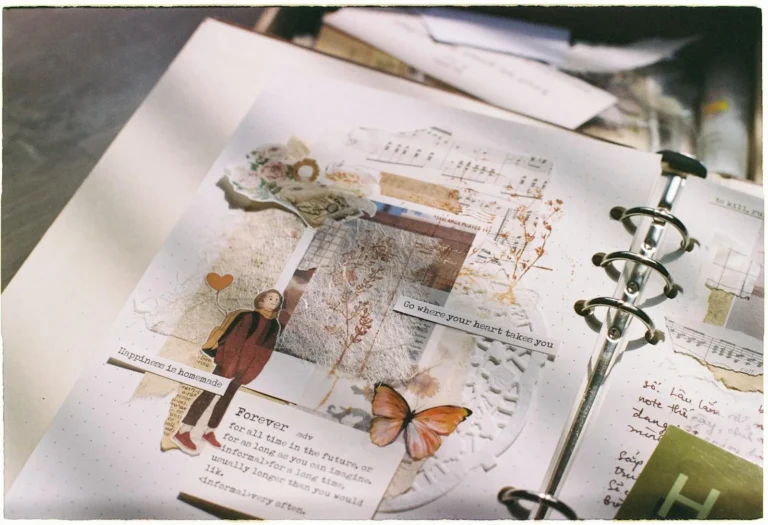
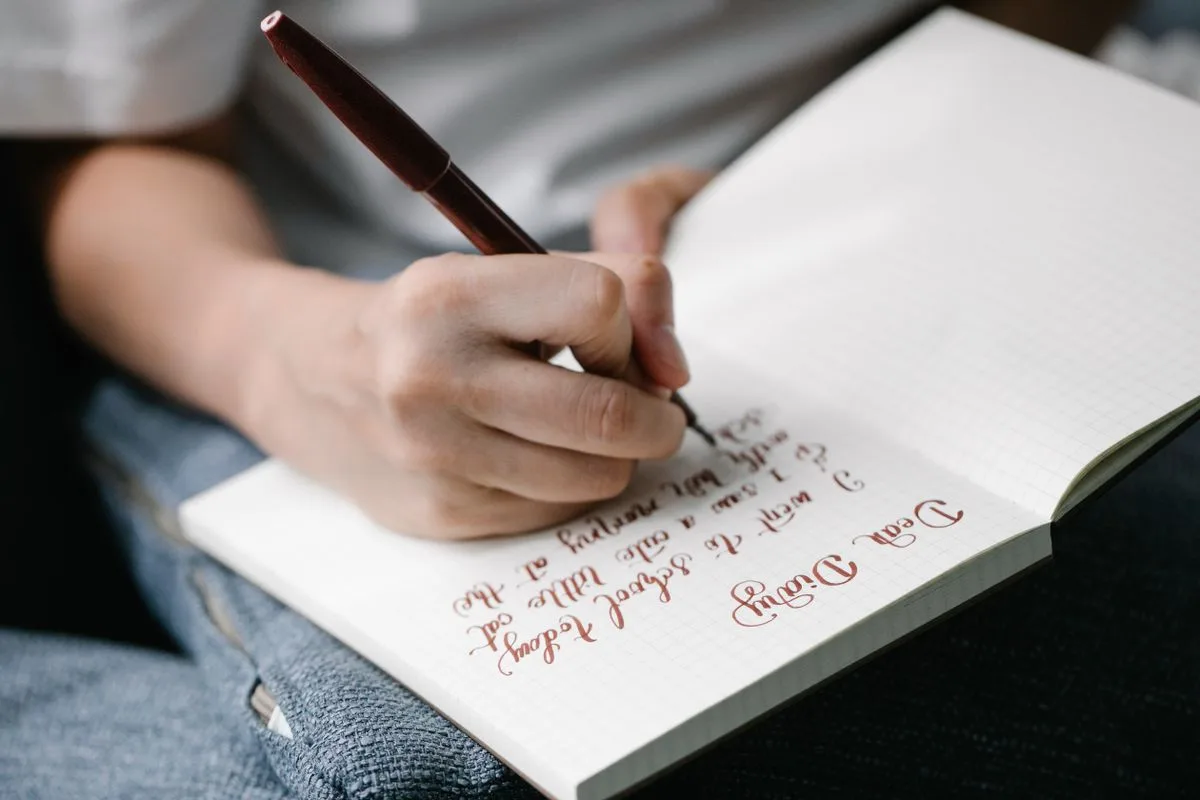
Step 6: Add the words while you remember them
The photos show what it looked like. The journaling is what you will actually reread in ten years. It does not need to be an essay. A date, a name, one honest line about what was happening.
Write it as you build each spread, while the memory is fresh, rather than saving all the words for the end. By the end you will not remember why that Tuesday mattered, and a finished page with a plain caption beats a beautiful page with nothing to say.
Step 7: Title it and dress the cover
Once the inside pages exist, the title work makes it feel like a real book. Each spread can take a short title, and the cover sets the tone before anyone opens it.
You can add titles with letter stickers, stamps, or printed words, and we cover all the routes in scrapbook letters and titles. For the front of the book, a single strong photo and a clean title go a long way, with more directions in scrapbook cover ideas. Save the cover for last, when you know which photo deserves it.
Step 8: Make it last longer than the photos in your phone
The one technical thing worth getting right is permanence. If the book holds real prints, use paper and glue labeled acid-free and photo-safe so the pages do not yellow or bleed in a decade, and our guide to safe glues for paper crafts sorts the adhesives that last from the ones that stain. One label check at the store and the book outlives the phone those photos used to live in.
That is the whole craft. Sort, pick an album, plan the order, repeat one layout, build in sessions, write the words, finish the cover.
The box and the empty album are not the gap you thought they were. They are step one and step two, already done, and the first spread is one quiet evening away.
Frequently asked questions about making a scrapbook
How do I start making a scrapbook as a beginner?
Resist the urge to buy supplies first. Start by gathering and culling your photos, because their number decides the album size and the length of the book. Beginners who start narrow tend to finish, while the ones who start with a shopping list usually end up with a drawer of materials and no album.
What materials do I need to make a scrapbook?
At minimum, an album with page protectors, some background paper, a photo-safe adhesive, and a pen you like writing with. Letter stickers make titles easy, and a paper trimmer helps but is not essential. Buy acid-free and photo-safe so your photos last, and add embellishments later once you know what the pages need.
How long does it take to make a scrapbook?
A small gift book can come together in a weekend, while a year-long album is better spread across a month of short sessions. Working in twenty-minute bursts, one spread at a time, is what actually gets a book finished. The biggest time sink is sorting photos, so doing that first saves you later.
Do I have to put my photos in order?
Time order, oldest to newest, is the easiest to build and the easiest to read, which is why most scrapbooks use it. A themed or gift book can run by chapter instead. Either way, decide the order before you glue, so you do not run out of pages halfway through.
Do I need special tools or a machine to make a scrapbook?
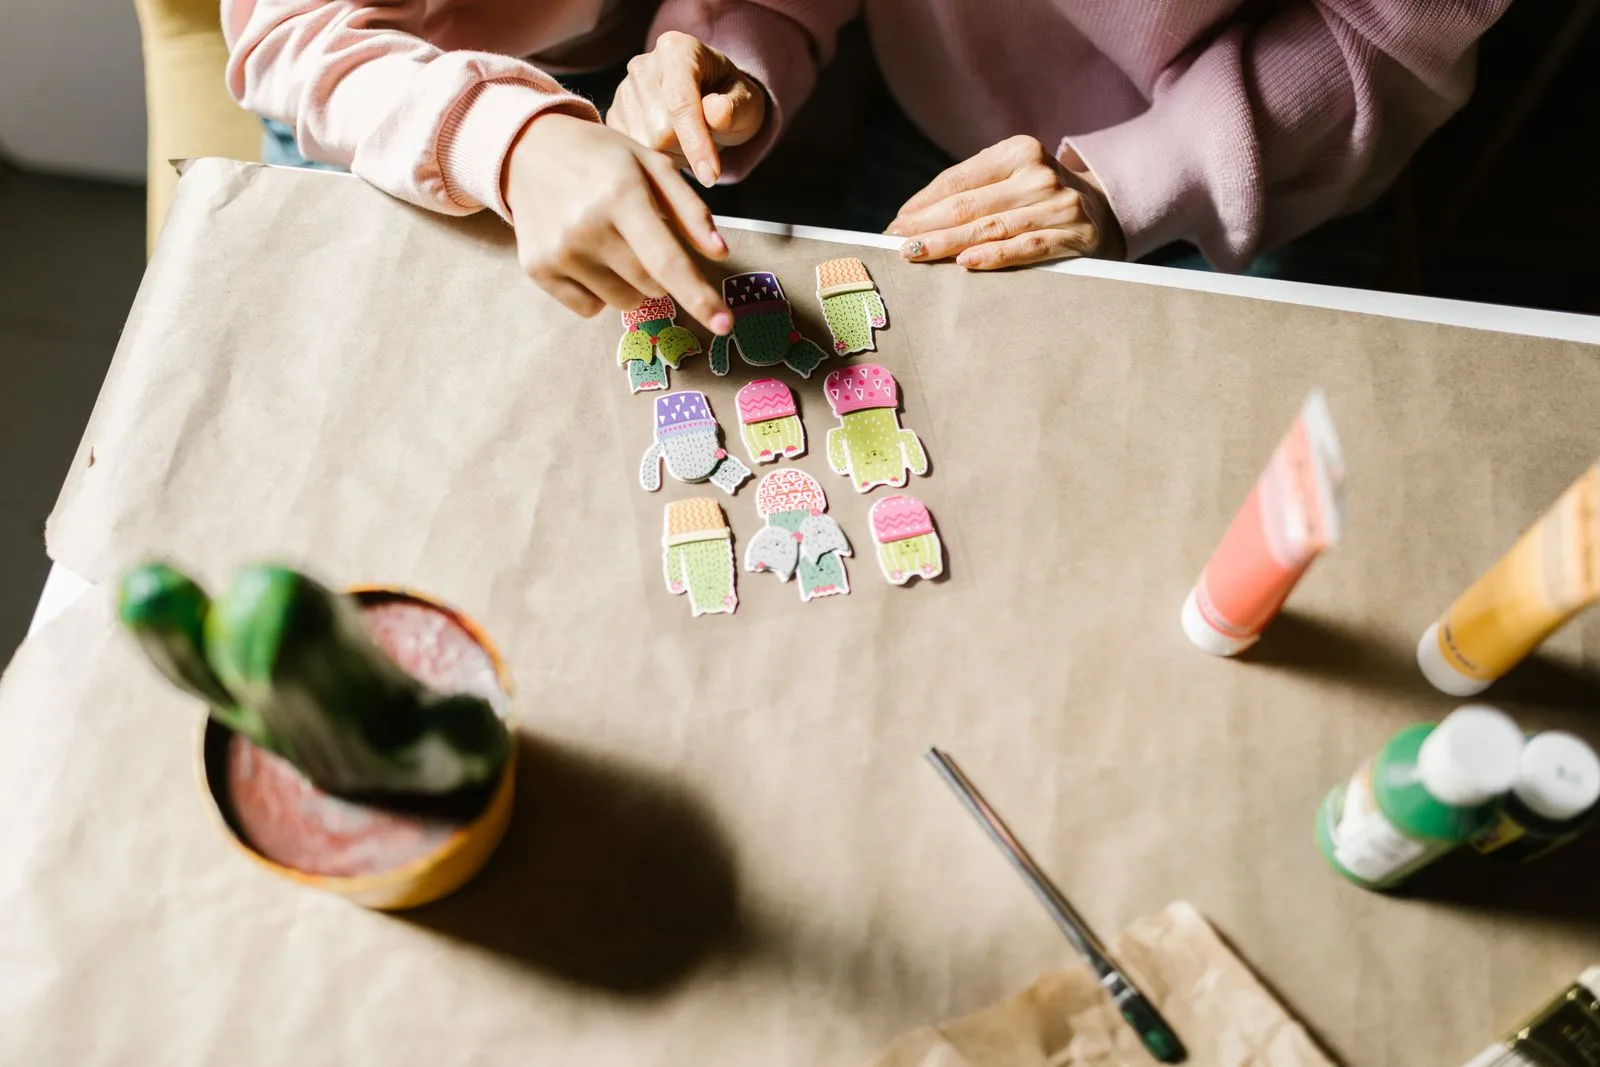
No. A scrapbook needs an album, some paper, a photo-safe glue, and a pen, and everything past that is optional. Die-cut machines, punches, and embellishments are lovely once you know you enjoy the craft, but plenty of beautiful books are made with scissors and stickers alone. Buy the album first and the gadgets last, if at all.
Get free junk journal printables
New printables, page ideas, and paper craft tutorials, straight to your inbox.
Scrapbook ideas for your boyfriend that mean something without tipping into cheesy: what to put in it, themes, a ten-page starter order, and how to keep it him.
Scrapbook cover ideas that look intentional: the three-element anatomy, five cover styles, how to add a title without special tools, and protecting the front.
Simple scrapbook page layout ideas for beginners: five reliable arrangements, the small rules that make any page look deliberate, and a start-to-finish walkthrough.
Turn the drawer of birthday cards and a phone full of photos into a birthday scrapbook worth keeping: what to save, the milestone-or-yearly choice, and how to capture who they were at each age.
Thirteen easy crafts that use up your scrapbook paper stash, from cards and gift tags to banners and junk journal pages, no special tools required.
Manage Consent
To provide the best experiences, we use technologies like cookies to store and/or access device information. Consenting to these technologies will allow us to process data such as browsing behavior or unique IDs on this site. Not consenting or withdrawing consent, may adversely affect certain features and functions.
Functional
Always active
The technical storage or access is strictly necessary for the legitimate purpose of enabling the use of a specific service explicitly requested by the subscriber or user, or for the sole purpose of carrying out the transmission of a communication over an electronic communications network.
Preferences
The technical storage or access is necessary for the legitimate purpose of storing preferences that are not requested by the subscriber or user.
Statistics
The technical storage or access that is used exclusively for statistical purposes.The technical storage or access that is used exclusively for anonymous statistical purposes. Without a subpoena, voluntary compliance on the part of your Internet Service Provider, or additional records from a third party, information stored or retrieved for this purpose alone cannot usually be used to identify you.
Marketing
The technical storage or access is required to create user profiles to send advertising, or to track the user on a website or across several websites for similar marketing purposes.


")
")

")