The vision board materials that actually matter are the ones you stop
noticing once the board is on the wall, which means the choice you sweat
least is the one that goes wrong first. A nine-cent glue stick from the
dollar store is the reason your goal-for-the-year photo is hanging by
one corner in March.
You opened the craft drawer to start, found a tube of glue from your
nephew’s preschool project, two pairs of scissors that do not really cut
paper anymore, and three magazines you saved with a vague plan to “use
them for something.” You are not actually short on materials. You are
short on the right ones, and on knowing which dollar-store version is
fine and which is going to disappoint you in eight weeks.
There are seven material categories that make up every vision board,
and inside each one, two or three picks are honest value and one is a
trap. This is the breakdown.
The short version: Use foam board over poster board
if the board lives on a wall longer than three months. Skip the cheapest
glue stick; pay the extra dollar for a brand-name one or a tape runner.
Magazines from a thrift store outperform any sticker pack you can buy.
The hidden upgrade is a small bone folder for crisp edges. Everything
else, you already own.
What
materials do you actually need for a vision board?
You need a board surface, an adhesive, cutting tools, and images.
Those four cover every vision board ever made, including the ones in
glossy Pinterest tutorials. The other three categories below (quotes,
embellishments, and finishing touches) are optional, and most beginners
overbuy them before they need them.
The seven categories, in roughly the order you should care about
them:
The board itself. Foam, poster, cork, canvas, or
wood.
Finishing touches. A bone folder, a corner punch, a
black marker.
Pick the board first. If you start at the embellishments end (the
washi tape, the stickers), you have already lost. For the
buy-in-what-order question by budget, see our vision board supplies starter
list.
1. The board: foam,
poster, cork, or canvas
The board is the only material on this list that decides how the next
twelve months of your vision board look. Pick wrong and you are either
re-gluing corners in June or hanging a sad warped poster board the cat
already touched.
Poster board. Cheap, big, light, comes in every
color. Bends within a week if not backed. Best for a one-shot board you
photograph and recycle, or for a kid’s board.
Foam board (foam core). Rigid, holds up
free-standing on a shelf, survives being moved between rooms. The right
pick for most adult vision boards. White is the default; black foam
board makes any color photo pop and is the cheap upgrade nobody
mentions.
Cork board. The right pick if you want to swap
images monthly. Pushpins instead of glue, so nothing is permanent.
Slightly heavier to hang on a rental wall, but Command-strip-rated cork
tiles solve that.
Canvas. The board you treat as art. Lasts years,
looks framed without a frame, and forces you to commit to a stronger
curation. The most expensive option.
Wood panel. A heavier-commitment cousin to canvas,
often used for mixed-media vision boards with paint or ink underneath
the cutouts. Beautiful, not for a first board.
Buy this, not that: If you can spend three extra
dollars, get black foam board instead of white. Photos read sharper
against black, you do not see glue residue around the edges, and the
whole board looks intentional even before you start.
A note on size. Twenty by thirty inches is the sweet spot for a wall
board: big enough to hold a year of images, small enough to hang in a
rental bedroom. Eleven by fourteen is fine for a desk board or a board
you photograph and use as a phone wallpaper. The poster-sized 28×40
boards look ambitious in the store and dwarf any apartment wall you
actually own.
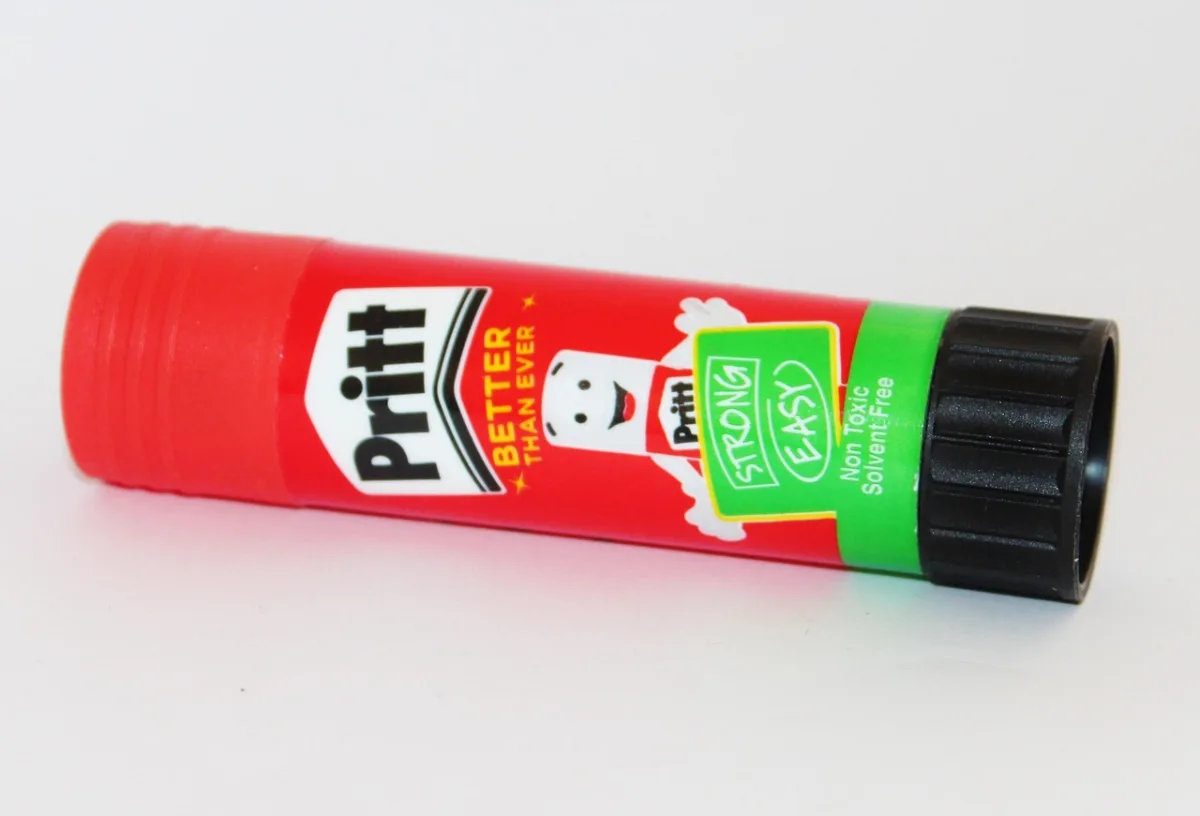
2. Adhesives: where most
boards go wrong
The single most common reason vision boards fail by week six is bad
glue. Photos peel at the corners, magazine cutouts lift, and the whole
board starts looking like a school project halfway through summer. The
fix is two dollars.
Glue stick. Fine for lightweight magazine paper.
The brand-name purple-goes-on-clear sticks are real, not marketing.
Dollar-store sticks dry out in the cap before you finish the board.
Tape runner (acid-free, dry adhesive). Faster than
glue, lays flat, and does not warp the paper. The right default for
printed photos and laser prints.
PVA (white craft glue). The right pick for anything
heavier than magazine paper. Holds photo prints, fabric scraps, dried
flowers, and any embellishment with weight. Apply thin or it shows
through.
Washi tape. Half decoration, half adhesive. Best as
a border or to tack down a quote card you want to swap later.
Pushpins. For cork or magnet boards. The whole
point is that nothing is permanent and the board changes when your year
does.
Mod Podge. Optional sealer for a vision board you
want to treat like art. Brushed over the finished collage, it locks
everything down and gives a satin finish. Skip on a board you plan to
redo in three months.
Two adhesive mistakes to avoid. Hot glue: lumpy, shows through every
layer, and the strings are forever. Rubber cement: discolors paper
within a year and smells like a chemistry lab. Save both for
plastic-and-fabric crafts that are not vision boards.
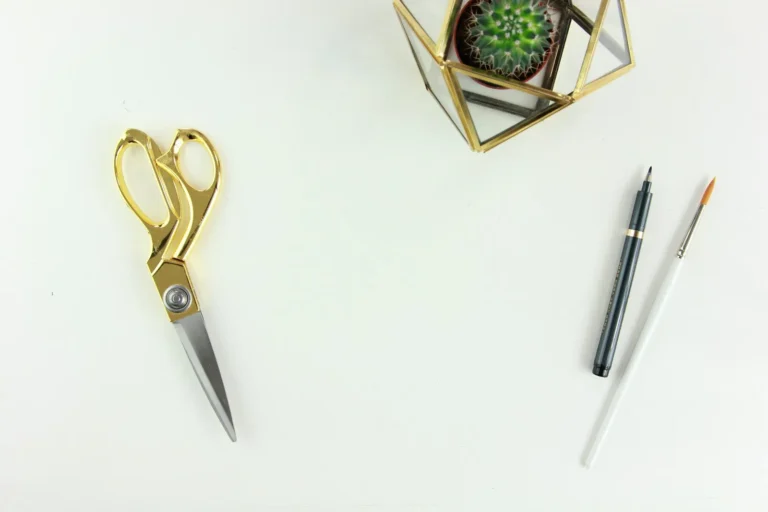
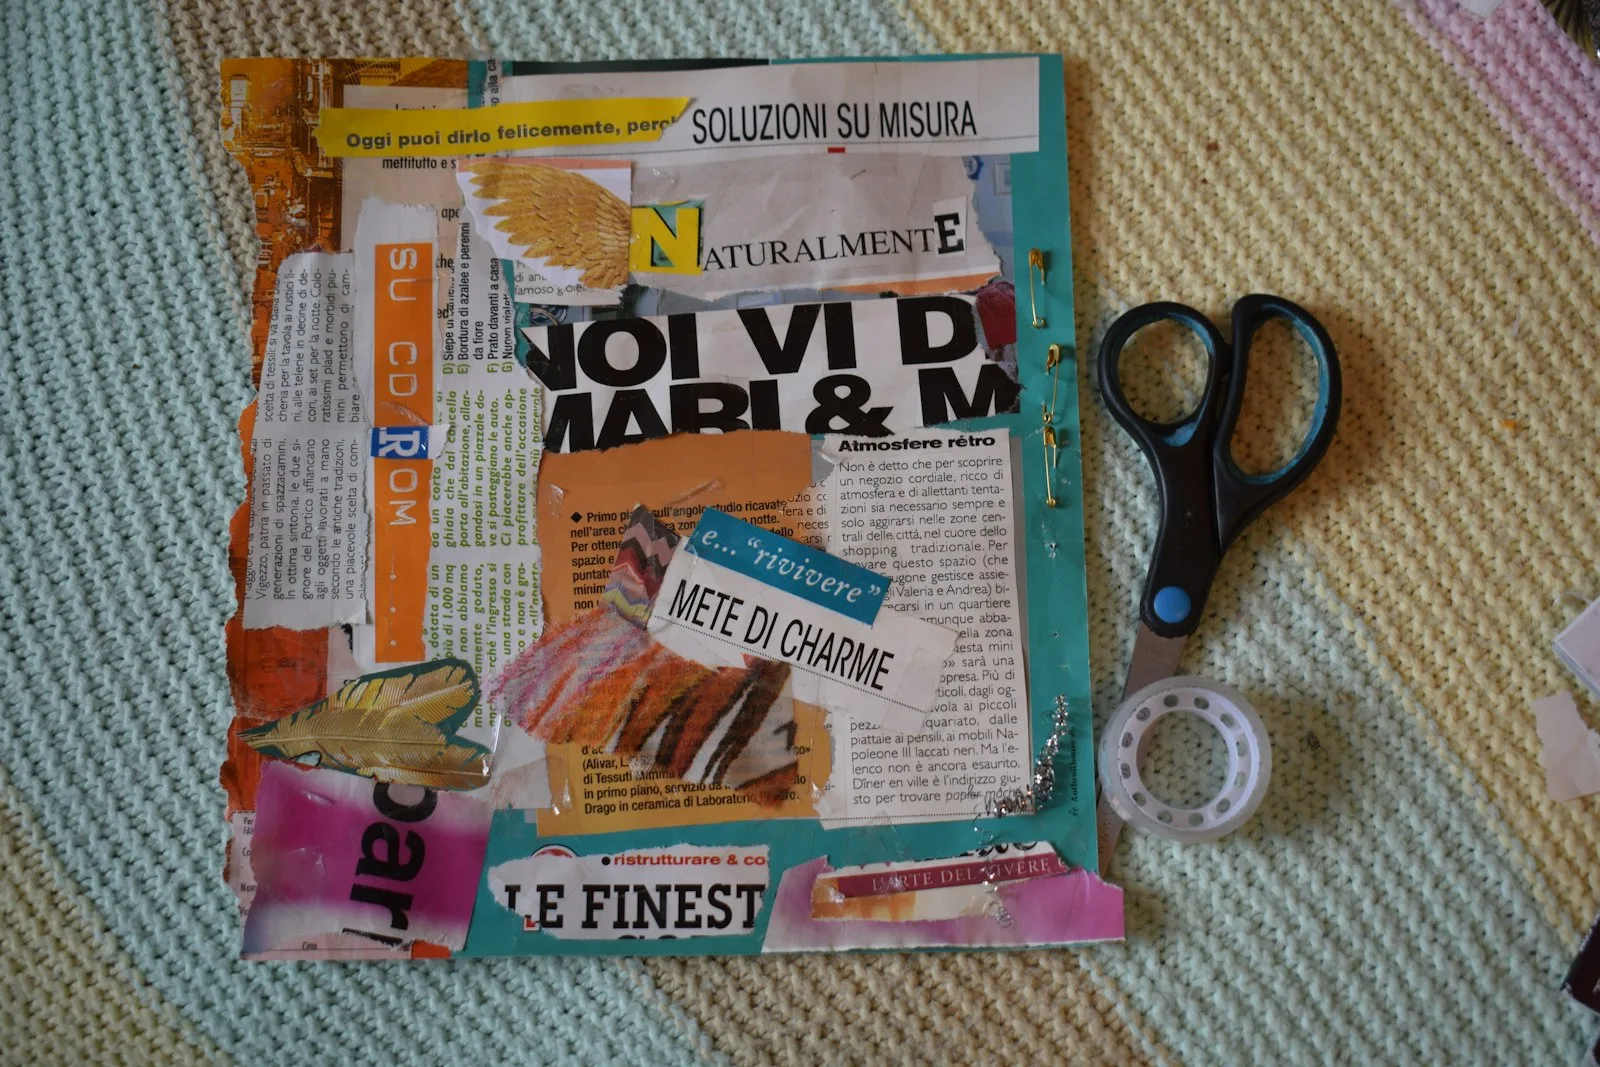
3. Cutting tools:
scissors plus one upgrade
For a single board a year, a regular pair of scissors does the job.
If you build a board more than once, the upgrade math changes.
Regular scissors. Whatever is in the kitchen
drawer. Cuts magazines, photos, and quote cards fine.
Small craft scissors. For tight curves around
faces, objects, and lettering. Worth $4 if you plan to cut around a lot
of shapes.
Craft knife and self-healing cutting mat. For
straight edges, interior cutouts, and stencil work. The mat is the real
expense; a basic 9×12 lasts years.
Paper trimmer. The upgrade that pays off if you
make a board more than once or print a lot at home. A 12-inch model
handles letter-size paper and quote-card sheets in seconds, and your
hands thank you.
The most underrated cutting upgrade is a fresh blade. A craft knife
with a dull blade tears paper instead of cutting it; the cutout reads
fuzzy on the board even though the cut looked fine in your hand. Change
the blade every few projects, not when it stops cutting.
4. Images: where the
actual board lives
A vision board is mostly the images on it. Materials matter here in
the same way photo paper matters in a photo album: the same picture
looks different on different stock.
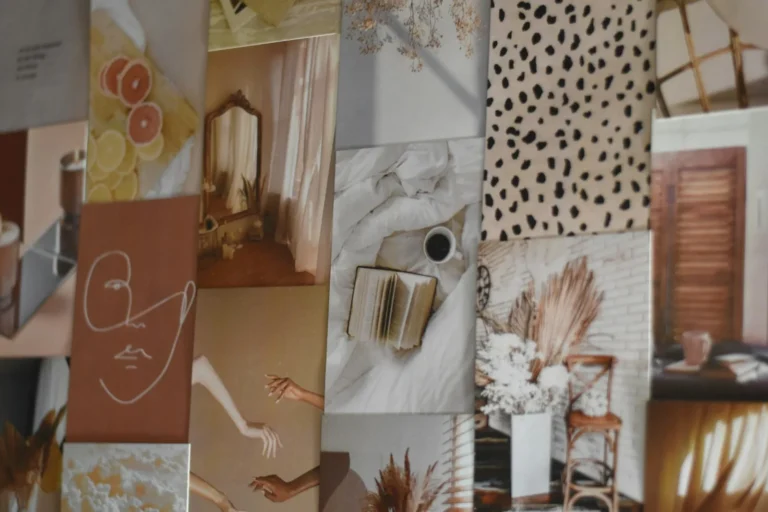
Magazine cutouts. Travel, home, fashion, and food
magazines are the densest for usable imagery. A thrift-store stack of
five magazines for $2 outperforms any sticker pack. Older issues (Real
Simple, Coastal Living, Architectural Digest) have less ad bloat.
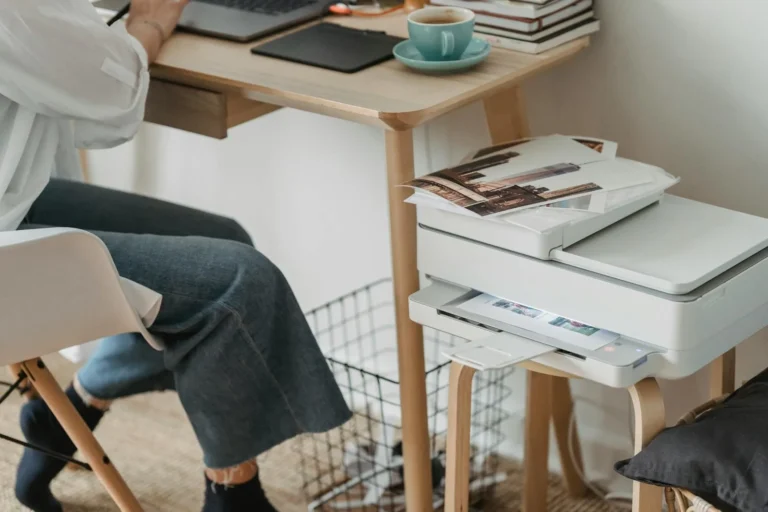
Printed photos from your phone. Phone photos run
through a home printer on matte photo paper or laser printer paper feel
like your year, not a stock board. Glossy photo paper looks
great but reflects badly under room lighting.
Pinterest screenshots printed at home. This is how
most boards actually get built now. Pin to a private board, print four
images per page, and cut. The image quality on matte paper is more than
fine for a vision board.
Printables. Themed pages, quote cards, frame
layouts ready to print. We keep a small free pack on our vision board quotes printable
post.
Photo prints from a one-hour shop. Three-by-five
prints from Walgreens or CVS, twenty for a few dollars, hold up better
on a wall than home-printed images and feel more deliberate.
Postcards, gift cards, ticket stubs, and packaging.
The “real ephemera” tier. Mining your own paper trail (concert tickets,
a wedding invite, the foreign cash from your last trip) does more for
emotional weight than any printable.
A note on paper weight. Magazine paper is too thin to glue through
without bleed-through, so always trim cleanly before applying glue.
Photo paper is too thick for a glue stick alone; use a tape runner or
PVA on photo prints. Cardstock falls in the middle and works with
anything.
5. Quotes and text:
print, don’t handwrite (yet)
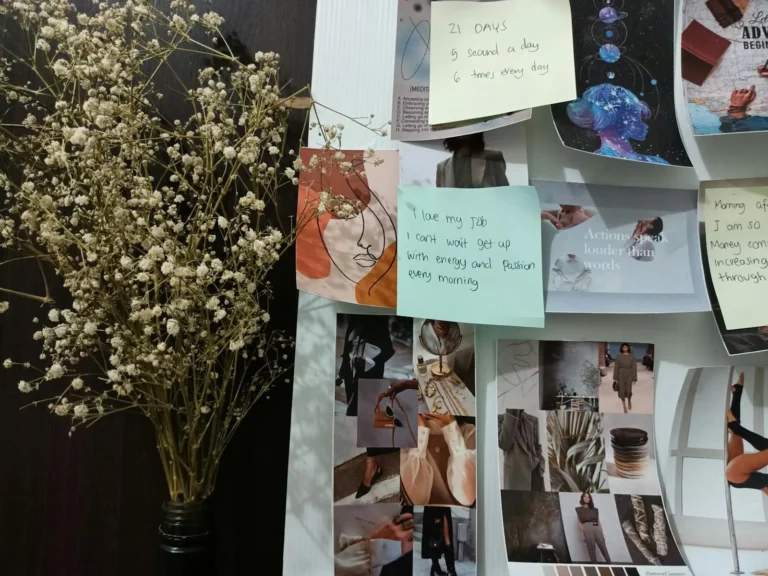
The text on a vision board does heavy lifting. A short, printed quote
in a serif font reads professional and stops you reading every time you
walk past. A handwritten quote in your own handwriting reads scrappy
unless your handwriting is genuinely good, which most adult handwriting
is not.
Printed type from Canva or a Google Doc. The
cleanest source. Pick two fonts (one serif, one sans-serif) and stick to
those across the whole board for visual unity.
Quote stickers. Pre-made packs from craft stores or
Etsy. Convenient, but check the language matches your tone before
buying; vision board sticker packs lean hard into “girl boss”
energy.
Handwritten quotes. Use a single high-quality
marker (a Tombow brush pen or a Sakura Pigma Micron) and write one or
two anchor phrases. Handwritten quotes scattered across the board look
chaotic. One handwritten phrase as the title works.
Letter stamps and ink. A small alphabet stamp set
gives you a uniform handmade look without relying on handwriting.
Distress ink along the edges of each stamped card makes the whole thing
feel intentional.
Affirmation cards. Pre-printed decks that double as
vision board content. A pack of 30 cards gives you years of options for
two or three vision boards.
Resist the urge to write the year in 200-point letters at the top.
The biggest text on the board sets the visual hierarchy, and a giant
year-number flattens everything else. A small dated note in the corner
does the same job without dominating.
6.
Embellishments: add slowly, after the layout is set
The fun extras. Add after every image is placed, not before, or you
build the board around a sticker instead of around your year.
Washi tape. Borders, dividers, and
tucked-under-image accents. A roll of solid color and one patterned roll
is enough for any single board.
Patterned paper. A square of patterned cardstock
under a photo gives a frame for free. Half of a 12×12 scrapbook paper
pad is more than you will use.
Stickers. Small, curated packs (one or two themes)
over giant 500-piece hauls. The math from the kit roundup applies here:
two-thirds of any cheap sticker haul ends up in a drawer.
Ribbon and twine. A short length stretched across
the board, tucked behind a layer or threaded through a punched hole,
adds physical texture. A foot of ribbon goes a long way.
Dried flowers, pressed leaves, fabric scraps. Reach
for these last and use one or two as accents, not a full layer. The
board needs a focal point, not a craft-store-explosion vibe.
Real ephemera. Same as the images section. A torn
ticket stub or a piece of confetti from a real night out does more than
any sticker.
7. Finishing
touches: the three quiet upgrades
Three small materials separate a board that looks deliberate from one
that looks like a school project. None of them cost more than a few
dollars.
A bone folder. A small flat tool for creasing paper
and burnishing edges down flat. Run it along every glued edge and the
whole board reads finished.
A corner punch. Rounds the corners of square photos
and quote cards in one click. Soft corners on a vision board look
intentional and stop the eye snagging on sharp ones.
A fine black marker. Pigma Micron 01 or a Sharpie
ultra-fine. For dates, small handwritten annotations along the edge of a
photo, or a single anchor word in the corner. One marker, used
sparingly, ties a multi-source board together.
None of these show up in a kit listing. They are the three small
things that turn a board you photograph and stop looking at into a board
you walk past every morning and still notice.
Frequently
asked questions about vision board materials
What is the
best material to use for a vision board?
Black foam board is the best surface for most adult vision boards,
because it is rigid, holds shape on a wall or shelf, and makes photos
read sharper than white poster board. For people who want to swap images
monthly, cork board with pushpins is the better long-term pick. Poster
board is fine for a one-shot board or a kid’s board.
What kind of glue
is best for a vision board?
A tape runner is the cleanest default, because it lays flat and does
not warp the paper. PVA (white craft glue) is the most durable for
heavier images and embellishments. Brand-name glue sticks are fine for
magazine cutouts. Avoid hot glue (lumpy) and rubber cement (yellows
paper in under a year).
Can I make a
vision board without buying anything?
Yes. A free vision board uses a piece of cardboard from a shipping
box, magazine cutouts from the recycle pile, glue from any household
drawer, and printed photos from a home printer. Scrappy by design, and
real.
What
materials do I need for a digital vision board?
A digital vision board needs a free Canva or Pinterest account, a
folder of saved images on your phone, and ten to fifteen minutes.
Optional upgrades: a Canva Pro template for layout, a print-out at a
one-hour photo shop, and a phone wallpaper export. The materials cost is
zero to about five dollars total.
Where can I get
magazines for a vision board?
The best sources for vision board magazines are thrift stores,
library free-piles, and your own recycling. A stack of five travel or
home magazines from a thrift store usually runs under three dollars and
gives you weeks of cutting material. Coffee shops sometimes have a free
magazine basket, and a polite ask at a hairdresser’s gets you a backlog
of glossy paper for free.
Start with what
you have, upgrade what runs out
Back to the craft drawer that started this. Foam board, tape runner,
scissors, magazines. That is a vision board, and the dried-out glue
stick from somebody’s preschool project can sit this one out. The rest
is what you reach for once you know how you build, and that is
information you only get from finishing the first one.
When you upgrade, do it in this order: switch from poster to foam
board, swap glue stick for tape runner, add a bone folder, and replace
random stickers with a single curated quote pack. For the buying-order
version of this with prices and budget tiers, see our vision board supplies starter list.
For curated pre-built bundles instead, our vision board kits roundup covers what is
worth buying. And when you have the materials and want ideas for what to
put on the board, the 2026 vision
board ideas roundup gives you 25 themes to borrow.
Want a printable quote-card pack to start with? Grab
our vision board quote set: a small bundle of anchor lines and
affirmation prompts you can print at home and glue straight on the
board. Sign up below and we will send it over.
Get free junk journal printables
New printables, page ideas, and paper craft tutorials, straight to your inbox.
Eleven free vision board printables across templates, quote cards, worksheets, themed paper, and trackers. The categories that actually help and the ones to skip.
Vision boards work when they make you act differently, not when you stare at them. The collage is the easy part. The thing that turns a poster of dream apartments into a one-bedroom lease in March is a small daily change in what you notice, what you say yes to, and what you decide is…
How to write goals that work on a vision board: the four kinds every working board needs, the number-and-date trick, placement rules, and the review cadence that keeps the board alive.
The seven vision board books worth reading, sorted by who each one is for. Plus the patterns that quietly mark a book as filler before you spend the money.
The only vision board supplies you actually need to start are a board, some images, scissors, and a glue stick. The Pinterest hauls with the gold-foil stickers and twelve magazine subscriptions are doing one thing well: separating you from your money before you have made a single page. You set aside a Sunday for this….
Manage Consent
To provide the best experiences, we use technologies like cookies to store and/or access device information. Consenting to these technologies will allow us to process data such as browsing behavior or unique IDs on this site. Not consenting or withdrawing consent, may adversely affect certain features and functions.
Functional
Always active
The technical storage or access is strictly necessary for the legitimate purpose of enabling the use of a specific service explicitly requested by the subscriber or user, or for the sole purpose of carrying out the transmission of a communication over an electronic communications network.
Preferences
The technical storage or access is necessary for the legitimate purpose of storing preferences that are not requested by the subscriber or user.
Statistics
The technical storage or access that is used exclusively for statistical purposes.The technical storage or access that is used exclusively for anonymous statistical purposes. Without a subpoena, voluntary compliance on the part of your Internet Service Provider, or additional records from a third party, information stored or retrieved for this purpose alone cannot usually be used to identify you.
Marketing
The technical storage or access is required to create user profiles to send advertising, or to track the user on a website or across several websites for similar marketing purposes.


")

")
")

")