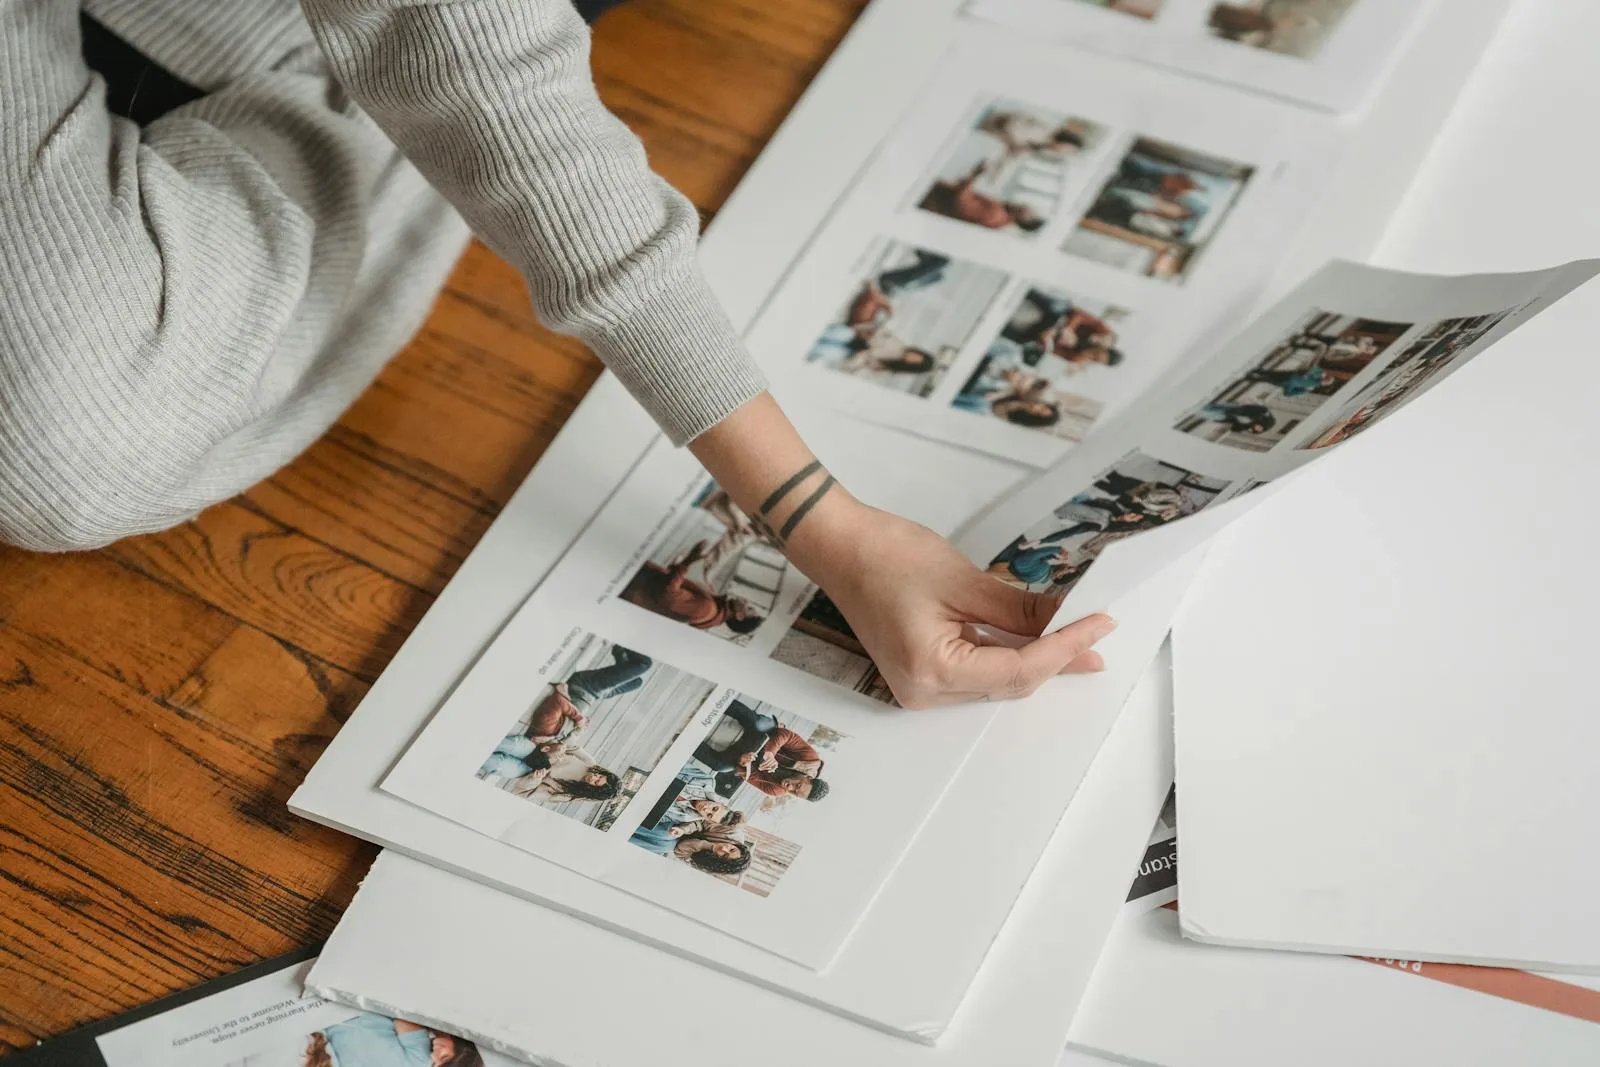
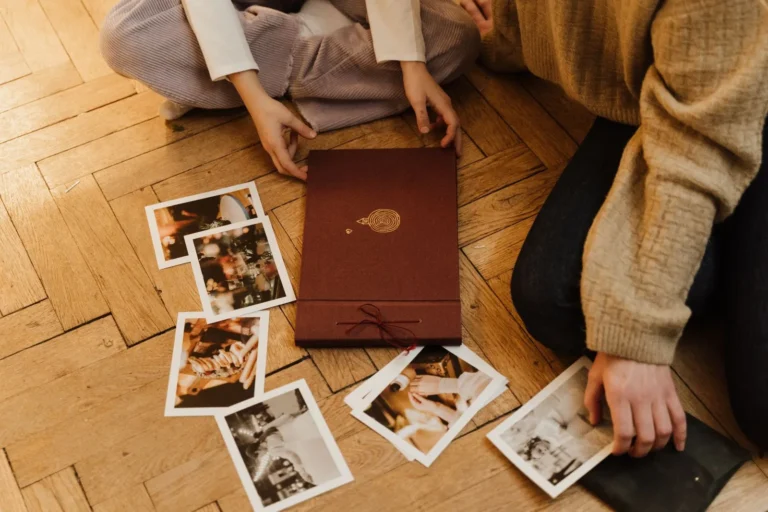
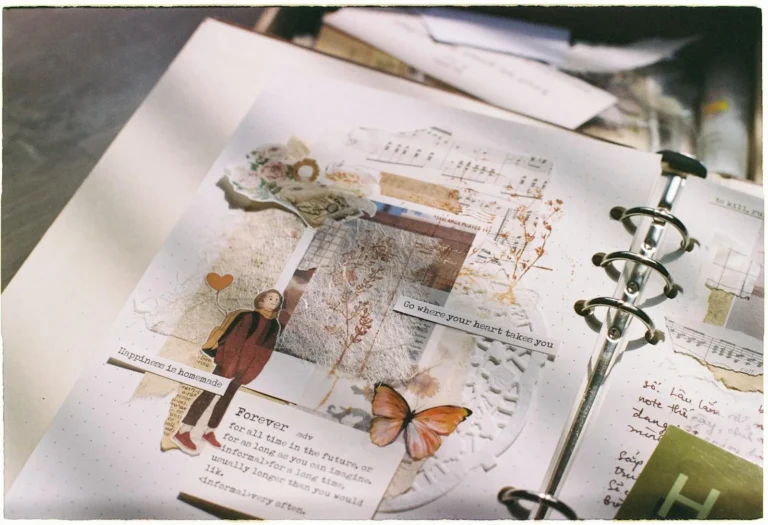
You have the photos printed and the paper picked, and now they are fanned out across the table while you slide them an inch left, an inch right, hold one up, put it back. Twenty minutes later nothing is glued and the page somehow looks worse than the empty one did. The photos are fine. The problem is you are trying to invent a design from scratch every single time.
You do not have to. A handful of layouts cover almost every page you will ever build, and the pros mostly reuse the same dozen arrangements with different photos dropped in. Learn four or five and the staring stops.
The layouts below cover almost every page you will build, and the small rules under them are what make any one of them look deliberate.
The single best habit a beginner can steal is the layout sketch. It is a rough line drawing that says photo here, title there, words down the side. You are not designing anymore, you are filling in boxes.
The beauty of a sketch is how far one stretches. Flip it upside down, mirror it, swap a photo block for a journaling block, and one sketch gives you four pages that feel different. Keep a few favorites on your phone and you will never face a truly blank 12×12 again.
Everything below is really just a sketch you can keep in your head.
The one-photo page
The most underrated layout there is. You take a single image, blow it up, and build the whole page around that one frame.
Beginners assume more photos means a better page, and the opposite is usually true. A lone photo has nowhere to hide and nothing to fight with, so it reads as confident. Use it for the shot that already tells the story on its own, and resist the urge to crowd the edges with extras it does not need.
The two-page spread
When one page feels tight, treat the open book as a single canvas. A two-page spread lets a row of photos run across the center, or sets a big focal photo on the left and the supporting shots on the right.
The rule that keeps a spread from splitting in half: carry something across the middle. A strip of paper, a title that spans both sides, a row of three photos that crosses the gutter. Without that bridge, the two pages look like strangers sharing a binding.
The grid
Nothing organizes a messy pile of photos faster than a grid. Four, six, or nine same-size squares, evenly spaced, with thin gaps between them.
A grid is calm because the eye knows exactly where to go. It is perfect for a batch of photos that are all roughly equal, a month of small moments, a set of nine details from one day. Break the pattern on purpose if you want energy: turn one square into a title block, or leave one empty for white space.
The photo-and-journaling split
Half the page is the image, the other half is the words. A photo block on one side, a column of journaling on the other, with the title bridging them at the top.
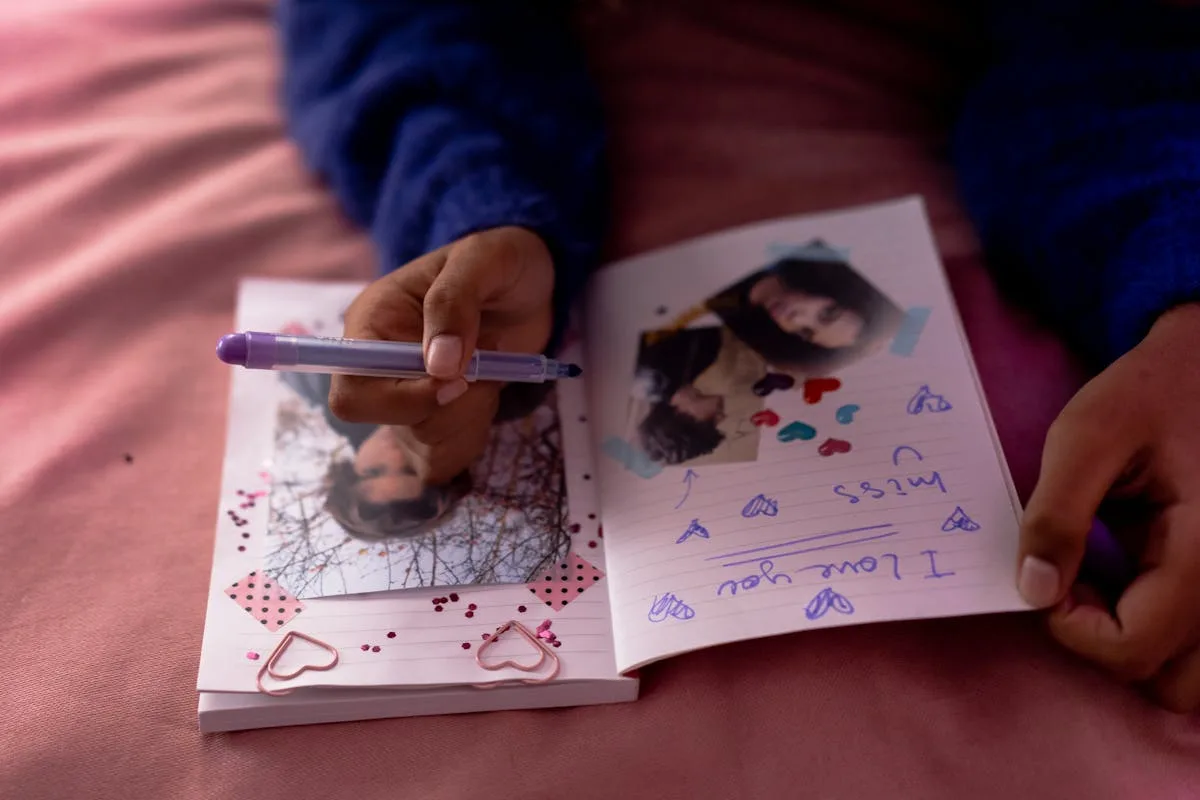
This is the layout for pages where the story matters as much as the picture. It gives your writing real room instead of squeezing it into a corner, and it stays readable years later when the details have faded from memory.
The pocket page
If even sketching feels like too much, pocket pages do the arranging for you. They are plastic sleeves divided into pockets, usually a mix of 3×4 and 4×6 slots, and you just slide photos and little journaling cards straight in.
No adhesive, no measuring, no second-guessing. Pocket pages are how a lot of busy people keep up at all, and they look tidy by design because the grid is built into the sleeve.
The small rules that make any layout work
The arrangement is half the job. These few habits do the rest:
Pull your colors from the photo. Two or three shades borrowed from the image, no more. The page falls into place on its own.
Leave more space than feels right. Crowding is the most common beginner mistake. Empty room reads as intentional, not unfinished.
Mat the photo that matters. Glue one key photo onto a slightly larger paper rectangle so it has a thin border. It lifts that image above the rest without a single embellishment.
Work in odd numbers. Three photos, or five, sit more naturally than four. Even groupings split the eye into matching halves, while odd ones keep it moving.
Pick one focal point. One thing the eye lands on first. If everything is loud, nothing is.
For how these play out across an actual project, the layouts in our baby scrapbook system show the same sketches built around one subject, and the beginner’s guide to scrapbook ideas walks through picking the project they go into.
Build one page, start to finish
Start by choosing the one photo the page is about. Everything else supports it. Lay it down roughly where a sketch tells you, say a little left of center, and audition the supporting shots around it without gluing anything yet. Pull two colors straight from that main photo and grab papers in those shades for the background and a mat.
Now mat the focal photo on the larger of your two papers so it carries a thin border, and set it down. Add one or two supporting photos, smaller, off to the side. Slide the title across the top or into the corner where there is room, and leave a clear lane for two lines of journaling near the bottom. Step back. If it feels tight anywhere, take something off rather than rearranging, because nine times out of ten the page wants less, not more.
That is a finished page: one focal image, a mat, a couple of supports, a title, two honest lines, and breathing room. Same recipe, different photos, every time.
Steal the layout, make it yours
None of this is precious. Find a sketch you like, drop in your photos, pull two colors from the image, and leave it a little emptier than your instinct wants. That is a finished page.
Those photos fanned out on the table were never the problem. They just needed a box to land in, and now you have five.
Frequently asked questions about scrapbook layouts
How do I lay out a scrapbook page as a beginner?
Start from a simple sketch that marks where the photo, title, and words go, then fill in the boxes instead of designing from scratch. Pull two or three colors from the photo and leave generous empty space. A repeating sketch is what turns a blank page into a quick decision.
How many photos should go on one scrapbook page?
For a beginner, one to three photos per page is the sweet spot, with one made larger as the focal point. Crowding six or more onto a page is the most common reason a layout looks busy. If you have many photos, use a grid or a two-page spread to give them room.
What is a scrapbook layout sketch?
A layout sketch is a rough line drawing showing where each element sits on the page: photo blocks, the title, and the journaling. You follow it but use your own photos and colors. One sketch can make several different pages if you rotate, mirror, or swap the blocks around.
How do I keep my scrapbook pages from looking empty?
Mat your main photo on a slightly larger paper rectangle, add a clear title, and use a strip of patterned paper along one edge. A little journaling fills space and adds meaning at the same time. Empty is easy to fix, while crowded is hard to undo.
What is the easiest scrapbook layout for lots of photos?
A grid is the easiest way to handle many photos at once: four, six, or nine same-size squares with thin even gaps. Pocket pages do the same job with no adhesive, since you slide photos straight into the divided sleeves. Both stay tidy because the structure is built in.
Get free junk journal printables
New printables, page ideas, and paper craft tutorials, straight to your inbox.
Scrapbook cover ideas that look intentional: the three-element anatomy, five cover styles, how to add a title without special tools, and protecting the front.
Six easy ways to add clean letters and titles to your scrapbook pages, from peel-and-stick alphabets to printing your own, so no title ever wobbles again.
Turn the drawer of birthday cards and a phone full of photos into a birthday scrapbook worth keeping: what to save, the milestone-or-yearly choice, and how to capture who they were at each age.
Scrapbook ideas for your boyfriend that mean something without tipping into cheesy: what to put in it, themes, a ten-page starter order, and how to keep it him.
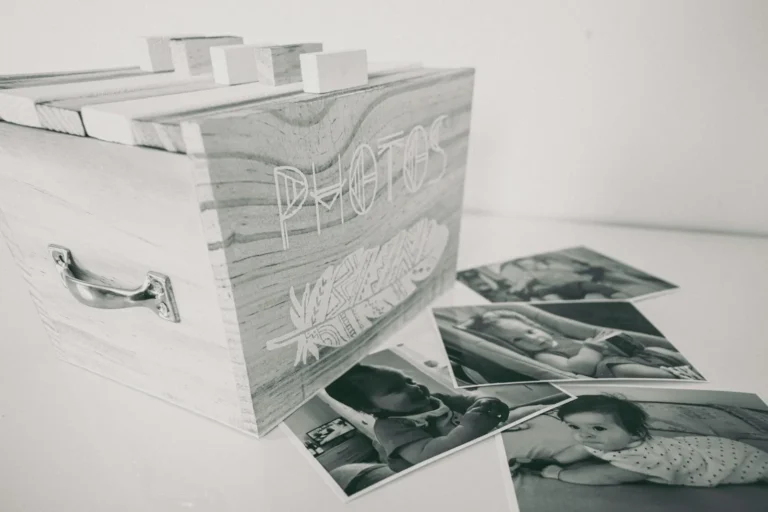
A doable month-by-month system for a first-year baby scrapbook: what to save, simple beginner layouts, keepsake pages, and the photo-safe basics that keep it from yellowing.
The design layer on top of layout: build a palette, mix patterns by scale, pick a style, and let your photos lead so every page looks pulled together.
Manage Consent
To provide the best experiences, we use technologies like cookies to store and/or access device information. Consenting to these technologies will allow us to process data such as browsing behavior or unique IDs on this site. Not consenting or withdrawing consent, may adversely affect certain features and functions.
Functional
Always active
The technical storage or access is strictly necessary for the legitimate purpose of enabling the use of a specific service explicitly requested by the subscriber or user, or for the sole purpose of carrying out the transmission of a communication over an electronic communications network.
Preferences
The technical storage or access is necessary for the legitimate purpose of storing preferences that are not requested by the subscriber or user.
Statistics
The technical storage or access that is used exclusively for statistical purposes.The technical storage or access that is used exclusively for anonymous statistical purposes. Without a subpoena, voluntary compliance on the part of your Internet Service Provider, or additional records from a third party, information stored or retrieved for this purpose alone cannot usually be used to identify you.
Marketing
The technical storage or access is required to create user profiles to send advertising, or to track the user on a website or across several websites for similar marketing purposes.