To make a junk journal, you fold a small stack of paper into signatures, pierce three holes along the fold, and sew the signature to a flexible cover with a single length of thread. From there it is paper, glue, and a stack of receipts you forgot you saved. The whole bind takes about an hour the first time and twenty minutes once you have done it twice.
There is a moment most junk journalers hit around month three. The book you started with, the cheap notebook or the glue-stick-into-an-envelope contraption, begins to give up at the spine. Pages lift. The cover bows. You realize that the journal you wanted was never going to be a held-together notebook with stuff taped on. It was going to be something you sewed.
The short version: Fold 4 to 5 sheets of letter-size paper in half to make one signature. Pierce 3 evenly spaced holes through the fold. Cut a flexible cover slightly bigger than the folded signature. Sew the signature to the cover with a pamphlet stitch, three holes, one length of thread. Tie off inside. Add a pocket. You have a junk journal.
There are three honest ways into a junk journal, and they are not the same craft.
You can buy one (a ready-made or kit, glue-bound and decorated, no construction on your end). You can upcycle one (gut a hardback, rebuild the insides, which we walk through in how to make a junk journal from an old book). Or you can bind one from flat paper, which is this post.
Binding is the only path that gives you full control over size, page count, paper variety, and how the book opens. It is also the path that survives the longest. A properly sewn signature does not fall apart at month three. It is a sturdier book because you built it to be one, not because you accumulated more glue.
If you have never sewn anything in your life, you can still do this. The pamphlet stitch is three holes, one needle, one thread. People learn it in less time than it takes to watch a YouTube video on it.
What do you need to make a junk journal?
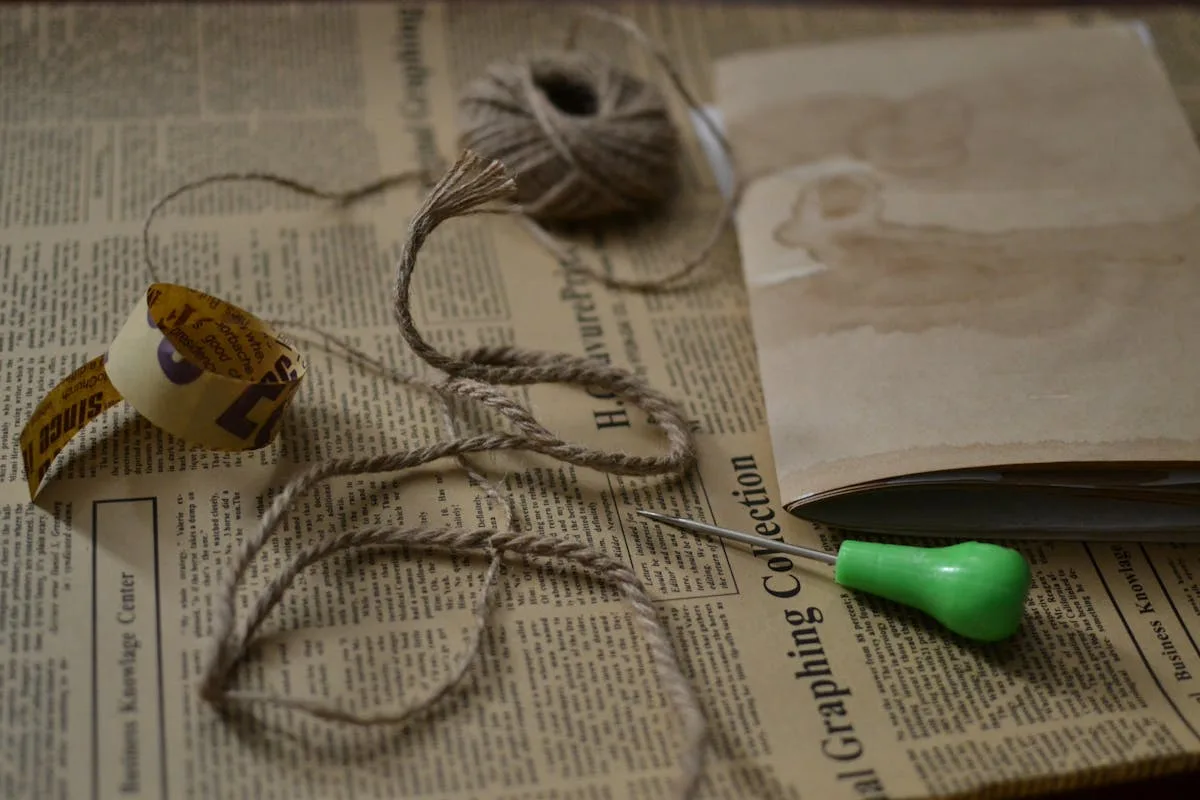
A small pile of paper, a needle and thread, an awl or a thick tapestry needle for piercing, and something stiff-ish for a cover. The whole list runs short, and you can substitute almost every item.
Quick build kit:
Paper for pages. 4 to 6 sheets of letter-size or A4, mixed if you have it. Plain printer paper, old book pages, sheet music, kraft paper, anything that folds cleanly.
A flexible cover. Cardstock, a thrifted file folder, the front of a cereal box, an old hardback cover with the spine cut off. Whatever has some body but still bends.
A long needle. Embroidery, tapestry, or bookbinding. The bigger the eye, the easier the thread.
Strong thread. Waxed linen is ideal. Embroidery floss or upholstery thread both work. Skip sewing-machine thread, which is too thin.
An awl or a tack. Anything sharp enough to push through 5 sheets of paper at once. A pushpin works in a pinch.
A bone folder or the back of a butter knife. For pressing your folds flat.
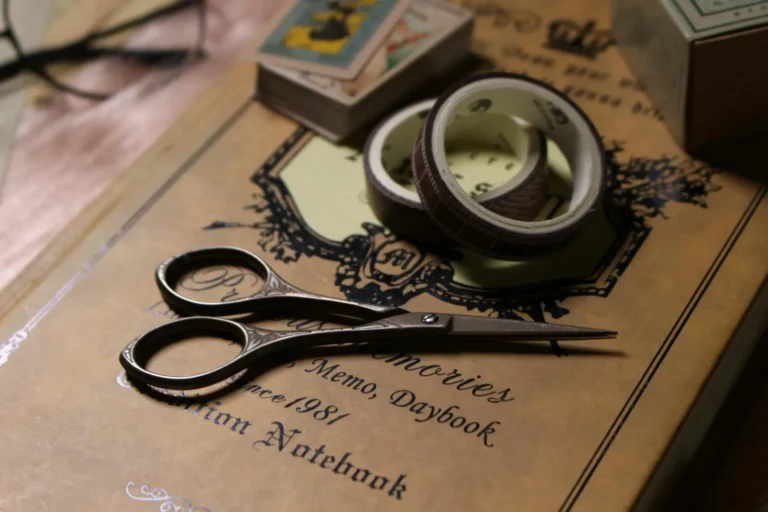
Scissors. A ruler. A pencil.
Two notes worth flagging. First, the paper does not need to match. Variety inside one signature is part of the look. Second, the cover does not need to be pretty yet. We are building the structure now, and we will decorate later in cover ideas.
For the bigger picture of what is worth owning across all your junk journaling, see our supplies guide. For now, raid a drawer.
How to make a junk journal step by step
Making a junk journal takes five steps: fold your signature, pierce the holes, sew the pamphlet stitch, attach a cover, and add your first pocket. Beginners finish all five inside an hour.
Step 1: Fold and nest your signature
Take 4 to 6 sheets of paper, stack them, and fold the whole stack in half so the short edges meet. Run a bone folder or the back of a butter knife along the fold to crease it flat. You now have a signature, which is the technical word for “nested folded sheets that will share a single sewing line.”
Two things to know about signatures:
Page count. A signature of 4 sheets gives you 16 pages once folded and opened. 5 sheets gives you 20. Pick the count by how chunky you want the book to feel.
Number of signatures. For your first junk journal, make one. Yes, just one. Multi-signature books need a different stitch (coptic or long-stitch, more on that below) and a beginner does not need to learn two skills at once.
Press the fold hard. A loose fold makes the sewing crooked.
Step 2: Mark and pierce your sewing holes
Open the signature flat to the center. You are going to mark three evenly spaced holes along the inside of the fold, then push them through with your awl.
Measure the fold length. Mark the center of the fold with a pencil dot. Then mark two more dots, each about an inch in from the top and bottom edges. Three dots total: top, middle, bottom.
Now lay the open signature on a self-healing mat or a folded towel and push the awl straight down through each pencil dot. The hole goes through every sheet at once. Wiggle the awl a little so the hole is big enough for the needle to slide through without fighting you.
If you are nervous about the awl: A pushpin held vertically works for thinner stacks. Push slowly. Both hands. Your couch cushion is not your sewing surface.
Step 3: Sew the pamphlet stitch
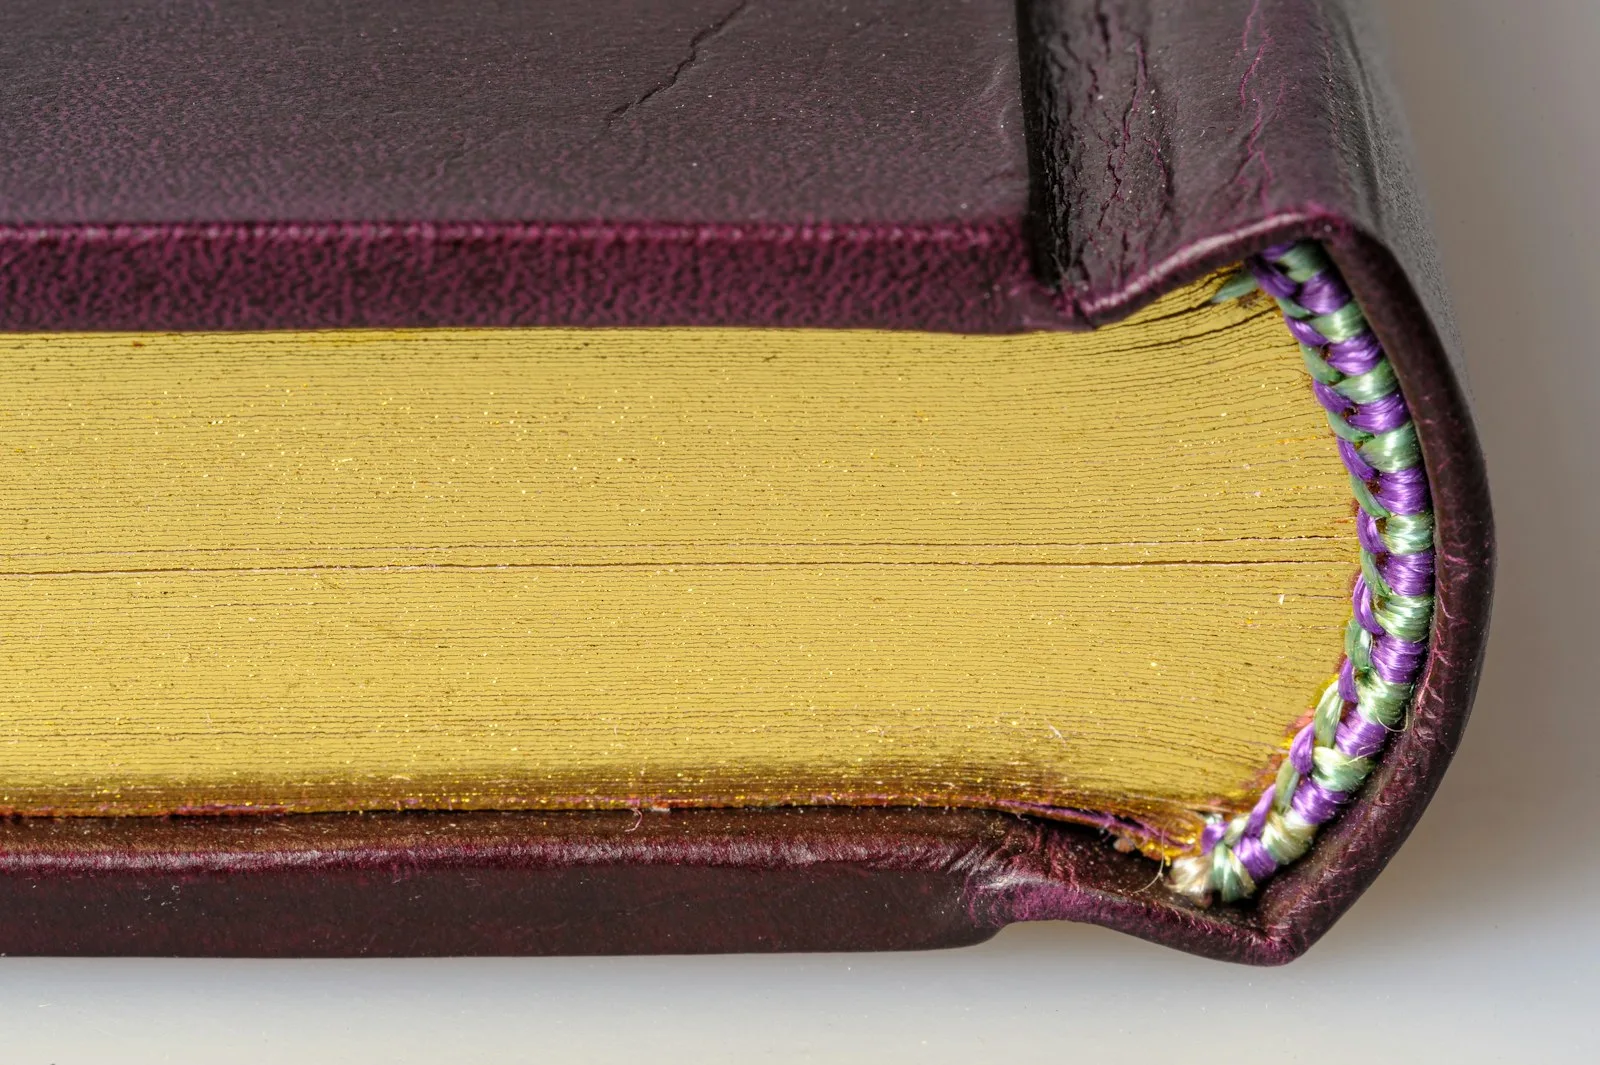
The pamphlet stitch is the simplest book stitch there is, and it holds one signature beautifully. Three holes, one length of thread, one needle. You start outside, end outside, and the knot ties around the long center stitch on the spine.
Cut a length of thread about three times the length of your fold. Thread your needle. Do not knot the end.
Then sew this path:
Outside center hole, going in. Push the needle from the spine side through the middle hole, into the inside of the signature. Pull thread through, leaving a 3-inch tail hanging outside.
Inside top hole, going out. From the inside, push the needle up through the top hole. Pull through to the spine side.
Outside down to the bottom hole, going in. Skip the center hole entirely. Take the needle straight down along the spine, then push through the bottom hole into the inside.
Inside back to the center hole, going out. Push the needle from inside through the middle hole again, coming back out to the spine.
Tie off. You now have the working thread on the spine side and the original tail on the spine side, sitting on opposite sides of the long stitch running down the spine. Tie the two ends in a double knot, snugging them around the long stitch. Trim to about an inch.
Done. One signature, sewn.
A common first-try issue: the long center stitch on the spine looks loose. Snug the thread as you sew each pass, not after. If it is loose at the end, undo the knot, tighten by pulling each pass tight, then retie.
Step 4: Add your covers
Cut your cover material to the size of your folded signature, plus about a quarter inch of bleed on every edge except the spine. So if your folded signature is 5.5 by 8.5 inches, your full cover (front and back as one piece, scored at the spine) is about 11.5 by 9 inches.
Two cover methods, easiest first:
Wraparound cover (easiest). Cut one long piece of cardstock, score and fold it down the middle. Wrap it around the outside of the signature so the spine of the cover sits over the sewn spine of the signature. Sew through the same three holes a second time, this time going through the cover too, with a fresh length of thread. Same pamphlet stitch, same path. The cover is now stitched to the signature.
Glue-on cover (faster, slightly less durable). Wrap the cover around the signature as above, then glue the inside of the spine to the outside of the sewn signature spine. Press and let dry under a heavy book. This skips a second sewing pass but holds less well over years of use.
If you want a sturdier book, sew the cover. If you want a faster build today, glue it. Either works for a junk journal because junk journals are meant to be used hard.
Step 5: Build your first pocket or flip-out
A book is not a junk journal until something tucks into it. The fastest way to cross that line is a pocket. Make one now while you have the materials out.
Easiest pocket: cut a piece of paper to the page size, then trim about an inch off the top. Glue the bottom and two sides to a page, leaving the top open. Slide a tag, a note, a folded map, anything you like.
Easiest flip-out: cut a strip of paper twice the page width. Fold it in half. Glue one half flat to a page and leave the other half free. The unglued half becomes a flap that swings out when you open the spread, doubling your working surface.
Two of these on your first sewn journal and the book starts to feel like a junk journal instead of a sewn notebook. You can keep going from here with page ideas for the spreads themselves.
What if you don’t want to sew?
You can build a junk journal without a single stitch, and it will work. It will not last as long, and the spine will eventually complain, but for a beginner who wants a finished book today and is not ready to thread a needle, the no-sew alternatives are fair.
Ring binders or O-rings. Punch two or three holes along the spine edge of loose pages, run book rings through, and call it done. Add or remove pages whenever you want.
Ribbon binding. Punch the same holes, thread a length of ribbon through each, tie at the spine. Pretty, less sturdy.
Staples. Stack 4 to 5 sheets, fold once, and run a long-arm stapler through the fold. Hides under washi tape. Works.
A sewn signature will hold pockets, fold-outs, and 50 layered scraps without bowing. The no-sew versions start fighting you around page 10. Pick based on whether you want today’s win or year-three durability.
Common beginner mistakes when making your own junk journal
The mistakes that trip beginners building their first book are the same three every time: too many signatures, too few holes, and a cover material that does not have enough body to hold the sewn spine.
Watch for these:
Starting with multiple signatures. A single signature with a pamphlet stitch is the only first project. Multi-signature books use coptic or long-stitch, which are real skills with real learning curves. Save them for book three.
Skipping the pre-piercing step. Trying to push the needle through 5 sheets at once without a pre-pierced hole bends the needle and crooks the holes. Always awl first, sew second.
Cover material that flops. Printer paper is too thin for a cover. So is one layer of magazine. Aim for at least cardstock weight, ideally something with a board feel. A cereal box works because it has body.
Trying to be neat. A junk journal is not a wedding album. Crooked stitches read as handmade. Resist the urge to redo a stitch that is “fine.”
Forgetting the pocket. A sewn signature with no pocket is a notebook. Add the pocket. The pocket is what turns the book into a junk journal.
If you are new to the craft itself and want the gentler on-ramp (first page, first habit, no sewing), start with how to junk journal. If you want to turn an existing hardback into a journal instead of building from flat paper, see how to make a junk journal from an old book.
Frequently asked questions about making a junk journal
Is making a junk journal hard for beginners?
No. A single-signature pamphlet-stitch junk journal is one of the easiest bookbinding projects there is. If you can fold paper and thread a needle, you can do it. The whole build takes about an hour the first time.
How many pages should a handmade junk journal have?
Most beginners do well with 16 to 24 pages, which means 4 to 6 sheets folded into one signature. Fewer feels too thin once you start adding ephemera, more makes the spine bulge.
What stitch should I use to bind a junk journal?
The pamphlet stitch is the right choice for your first journal. It is three holes, one length of thread, and it binds a single signature beautifully. Save coptic and long-stitch for multi-signature books once you have one journal under your belt.
What can I use as a cover for a homemade junk journal?
Cardstock, a thrifted file folder, a cereal box, a chipboard sheet, or the cut-down cover of an old hardback. Anything with cardstock weight or stronger works. Skip printer paper, which is too thin to hold the spine.
Do I have to sew it, or can I make a no-sew junk journal?
You can absolutely make a no-sew junk journal using rings, ribbons through punched holes, or a long-arm stapler in the fold. Sewn binding lasts longer and holds more layered pages, but a no-sew junk journal will get you to a finished book today with zero needle work.
Make one this weekend
The shift from glued-together notebook to sewn handmade book is one Saturday afternoon and three holes. Pick your paper, fold a signature, pierce, sew, wrap a cover, glue in a pocket. The first book will be a little crooked, the stitch will sit a little loose, and that is exactly how the handmade ones are supposed to look.
From here, the rest of the cluster picks up where construction stops: supplies for what to feed it, page ideas for what to do once it opens, cover ideas for when the plain cardstock starts to bore you, and the complete beginner’s guide for the wider habit.
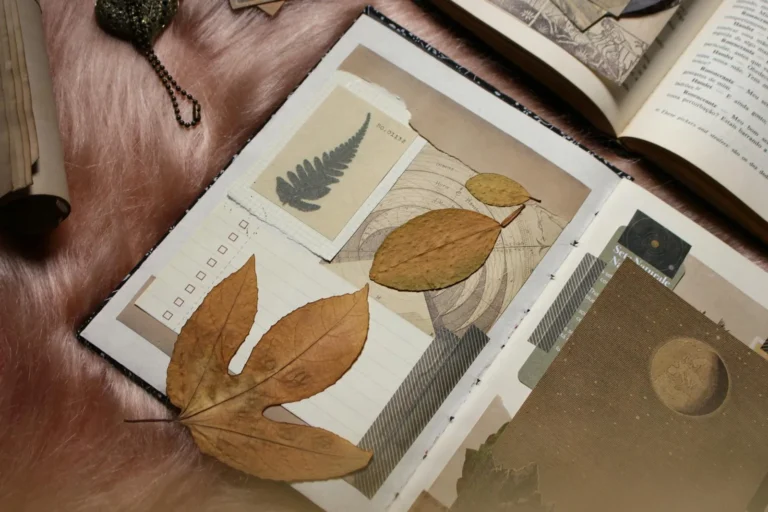
The next book you make will not give up at the spine. It will sit at the bottom of your bag, layered with tickets and tags and pressed leaves, and still close flat at the end of the year.
Want a head start on what to put in your first hand-bound journal? Grab our free printable junk journal starter kit, with vintage pages, pockets, and tags ready to print and tuck into your first signature.
Get free junk journal printables
New printables, page ideas, and paper craft tutorials, straight to your inbox.
A junk journal example is a finished or in-progress book you can look at to see how the supplies, pages, and cover actually fit together. We have grouped the most useful types below, with a short walkthrough of what each one looks like inside, so you can find the version closest to the journal you…
The complete junk journal supplies list, from the few essentials you actually need to where to find cheap and free materials to fill your pages.
Manage Consent
To provide the best experiences, we use technologies like cookies to store and/or access device information. Consenting to these technologies will allow us to process data such as browsing behavior or unique IDs on this site. Not consenting or withdrawing consent, may adversely affect certain features and functions.
Functional
Always active
The technical storage or access is strictly necessary for the legitimate purpose of enabling the use of a specific service explicitly requested by the subscriber or user, or for the sole purpose of carrying out the transmission of a communication over an electronic communications network.
Preferences
The technical storage or access is necessary for the legitimate purpose of storing preferences that are not requested by the subscriber or user.
Statistics
The technical storage or access that is used exclusively for statistical purposes.The technical storage or access that is used exclusively for anonymous statistical purposes. Without a subpoena, voluntary compliance on the part of your Internet Service Provider, or additional records from a third party, information stored or retrieved for this purpose alone cannot usually be used to identify you.
Marketing
The technical storage or access is required to create user profiles to send advertising, or to track the user on a website or across several websites for similar marketing purposes.


")

")