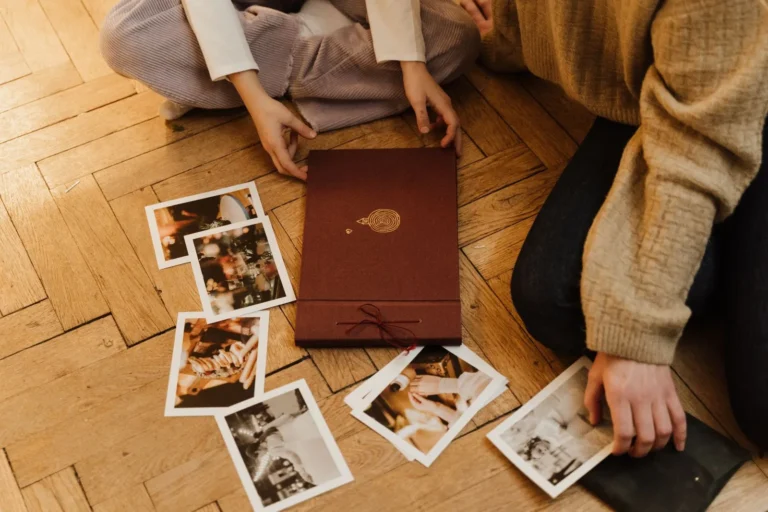
The drawer in the hall table is basically a travel archive that nobody curated. Two boarding passes, a metro ticket from a city you can no longer pronounce, a coaster you swore you would remember the bar for, and a few foreign coins not worth changing back. Somewhere on your phone are nine hundred photos from the same trip, forty of which are the same cathedral from slightly different angles. You keep meaning to sort through it. The drawer keeps winning.
That drawer plus that camera roll is a travel scrapbook waiting to happen. And travel might be the easiest scrapbook project there is to start, because the gathering part is already done. You did it on the trip, every time you pocketed a ticket. What is left is sorting.
So the goal here is not pretty pages for their own sake. It is a book that actually gets finished, before the next trip buries this one under a fresh pile of boarding passes.
The window closes faster than you think. A week home and you can still hear the train announcements. A month home and the photos start to feel like someone else’s. The single best travel scrapbook habit is to lay everything out within a few days of getting back, while you still remember which alley the good photo came from.
You do not have to build pages yet. Empty your bag and your pockets into one spot, dump the camera roll into a folder, and write down five things before they fade: the meal you keep thinking about, the thing that went wrong and became the story, the person you talked to, the view that stopped you, the moment you wished someone back home could see. That list becomes your captions later, and captions are what a travel book lives on.
A travel scrapbook works best organized by moment, not just by day. Group the photos and keepsakes into a handful of themes the trip actually had, set one or two strong images per page, and let the ticket stubs and maps do the decorating.
Two questions decide the rest: which scraps are worth keeping, and how to lay them down.
The scraps worth hauling home
Your photos are already safe on your phone. What makes a page feel like the actual place, and not a stock-photo vacation, is the flat junk you are about to bin at the airport.
Rescue these before they go in the trash:
Boarding passes and train tickets. They date the trip and look the part with zero effort.
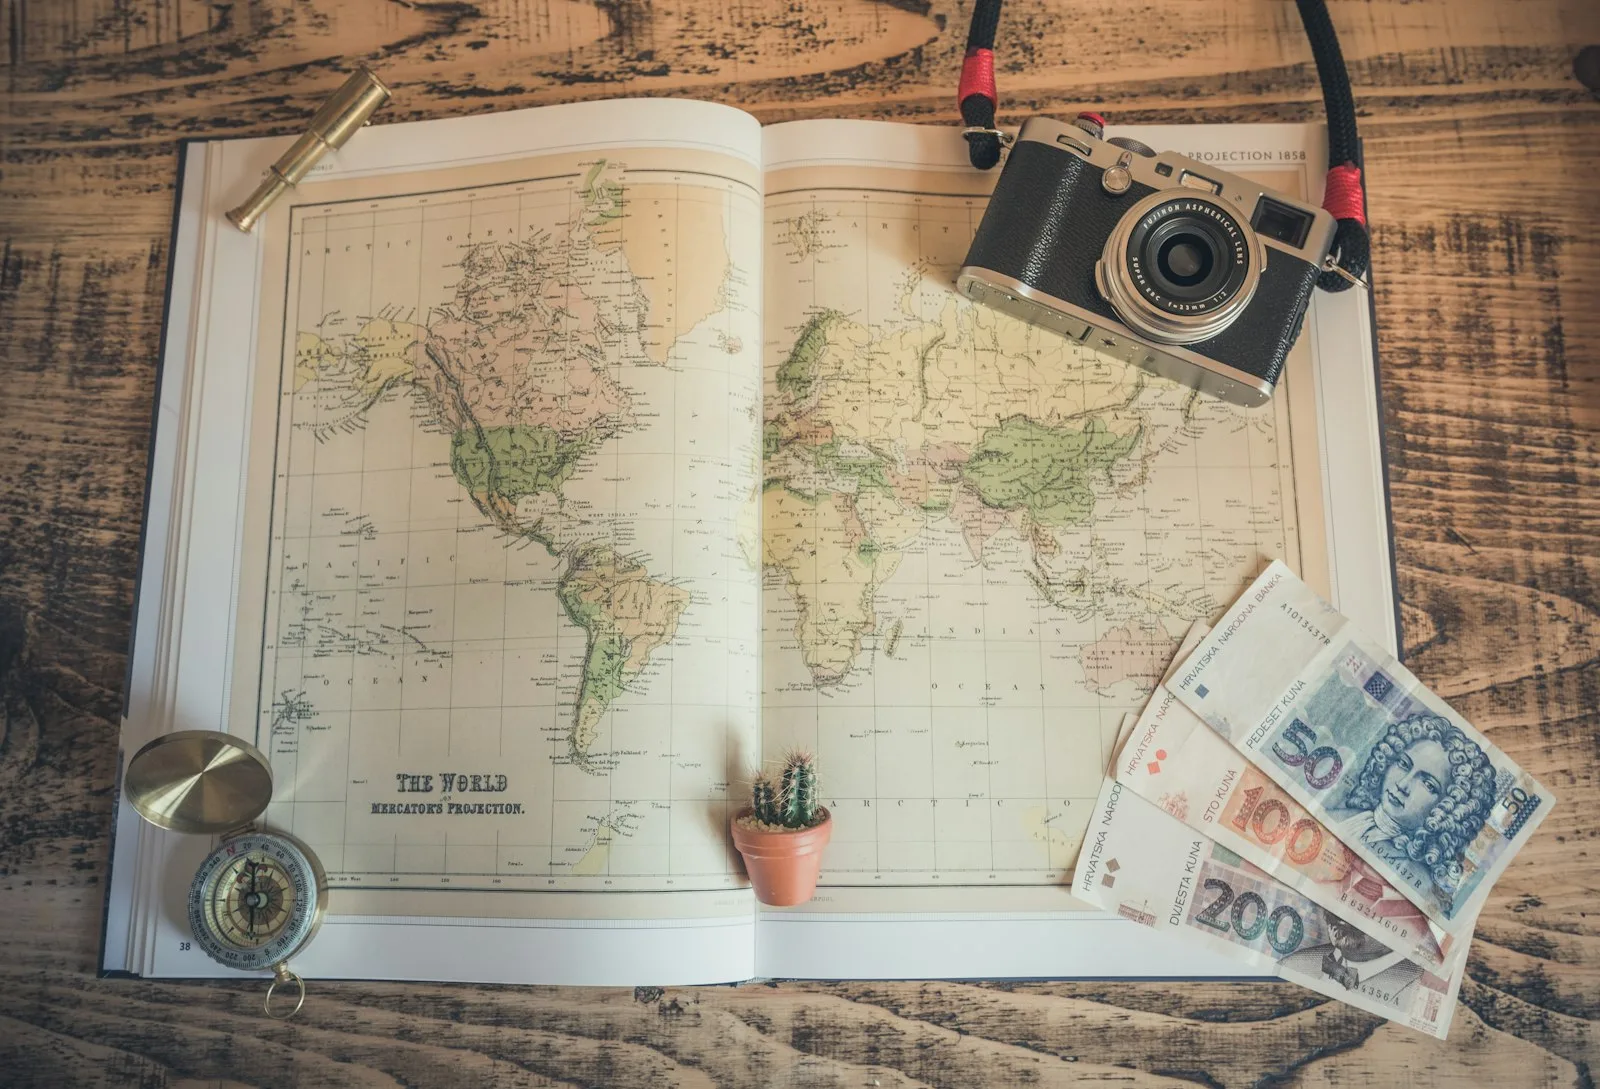
A paper map, or the torn corner of one, especially a metro or museum map with your own pen marks on it.
Ticket stubs and entry passes, from the museum, the cable car, the show you booked on a whim.
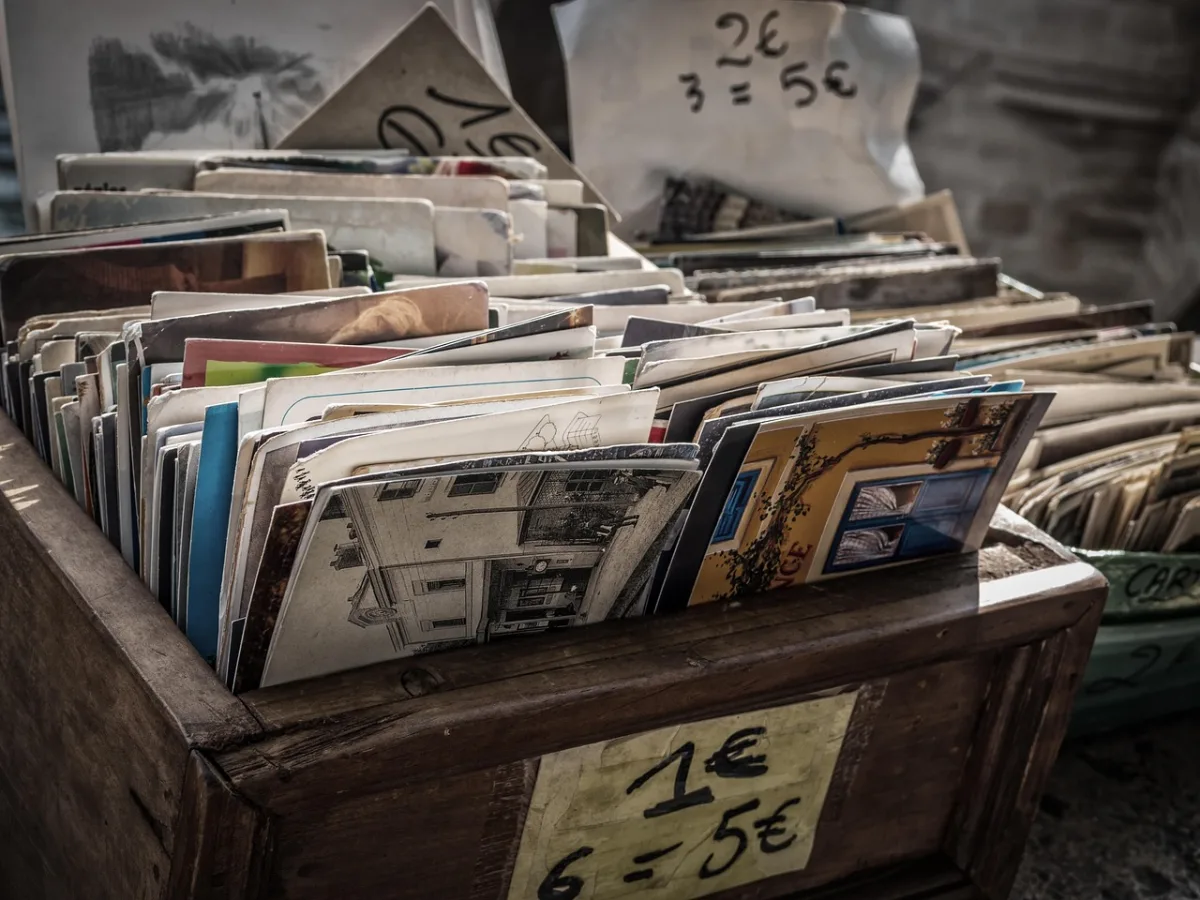
Postcards, including the ones you bought and never sent. Buy the cheesy view shot you would never take yourself.
Receipts from the meals worth remembering, and the little packaging from a local snack.
Coasters, drink labels, a business card from the bar you want to find again.
Foreign coins and small notes, light enough to tape flat, useless enough that you will not miss them.
Pressed flowers or a leaf from a hike, flattened in a book on the way home.
Keep more than the page will hold and cull later. Trimming a map down to a strip takes a second. Flying back for a ticket stub you binned at the gate does not.
How to split one trip into spreads
Here is the move that gets a trip finished: give it a two-page spread per theme, not one page per calendar day. Days blur together, and half of them were travel and sleep anyway. Themes give you a reason to choose.
Pick the themes from what the trip actually was. A city break might split into the food, the walking around, the one big sight, and the small weird thing nobody else photographed. A beach week might be arrivals and the view, the water, the meals, the day it rained and you played cards. Group the photos that way, give each theme its spread, and you are suddenly choosing between a handful of shots instead of staring down all nine hundred.
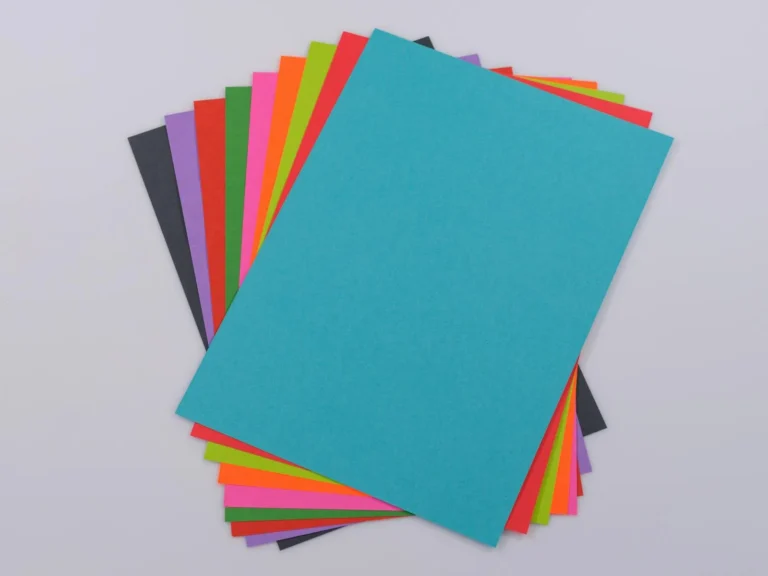
For the photo half, pull your page colors out of the pictures. Terracotta rooftops want a warm cream paper and a rust accent; a gray sea wants slate and white. If you want a coordinated set of backgrounds without buying a whole pad for two sheets, printable scrapbook paper lets you run off a matching palette at home, and a few map-pattern or postage-stamp sheets read as travel instantly.
Four layouts that do the work for you
Not every spread needs the theme treatment. When you want a change of pace without learning a new trick at midnight, a handful of formats pull their weight:
The map backdrop. Lay a map flat across the whole spread, faded slightly, and float photos and a short route line on top. One map does the design work for two pages.
The ticket timeline. A strip down one side with the boarding pass, the train ticket, the museum stub in order, photos filling the rest. The strip tells the whole journey in a glance.
The single hero shot. One full-page photo, the one that actually captures the place, a short honest caption, and nothing else. The breathing room makes it look intentional.
The collage page. Six to nine small photos in a tight grid, for the day that had a hundred little moments and no single big one. Good for markets, festivals, and long walking days.
If a page refuses to come together, raid our general scrapbook layouts for a grid and bend it to the shape of your trip.
The stuff a phone can’t hold
Here is the part a phone gallery cannot touch. A coaster does not scan, and a coin has a weight no screen carries.
Let the bulky scraps have a page of their own. A foreign coin taped beside the price of the coffee it bought. A pressed flower from the hike, facing the photo of the view at the top. The metro map with your route inked in, on the page about getting hopelessly lost for an afternoon. Anything too thick to sit flat can go in as a photo instead, with the real thing slipped into a glued-in envelope or pocket.
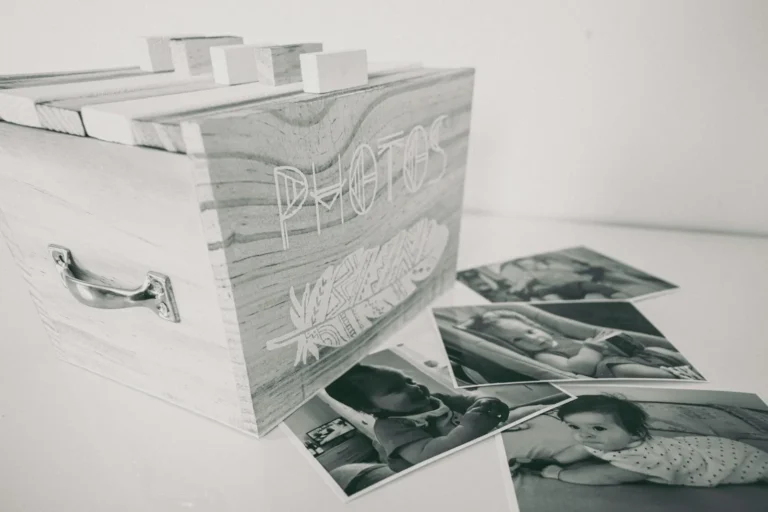
The album itself matters more than people expect here. Coins, folded maps, and thick ticket stubs make a book bulge and splay until the cover stops closing. A post-bound or three-ring album with a few pocket pages swallows that bulk far better than a slim glued-spine notebook, so build the space in before you start gluing, not after.
Your own notes outlast any embellishment here. Write the thing the waiter said. Write what the air smelled like getting off the plane. Write down the disaster, the missed train, the meal that was somehow both terrible and the best night of the whole trip. Polished is not the goal. Specific is.
Why the glue matters more than the photo
A travel book is meant to outlast the tan, so this one dull choice carries real weight: use paper and glue labelled acid-free, lignin-free, and photo-safe, plus photo corners under any real print. Craft-drawer tape and rubber cement are what turn old photos amber and bleed through the page above. The one-line shorthand is to look for photo-safe on the label, which means the stuff passed the Photographic Activity Test, and then let our safe glues for paper crafts guide pick the exact adhesive for coins and coasters.
Thirty seconds reading a label is the whole price of a book that still looks like the trip ten years out.
Road trips, Disney, and other special cases
Once the main trip is down on paper, these extra pages are pure fun, not homework.
A road trip almost wants to be linear: a route map across the front, then a spread per stop, with gas-station receipts and diner placemats holding the stops together. A multi-country trip earns a small flag or stamp motif per section, so the book reads in chapters. And a Disney trip is its own happy beast, with park maps, ride photos, autograph-book signatures, and character meet-and-greets that practically lay themselves out; a few themed scrapbook stickers in the right park colors do most of the decorating for you.
None of these are required. Your theme spreads already carry the trip; the extras are just what happens when you hit the third page and catch yourself planning the next trip instead of finishing this one.
And here is the quiet payoff. The coins end up on a page instead of in a dish by the door. The map gets its route inked back in. The trip stops being nine hundred cathedral photos you never open and turns into a book someone picks up off the coffee table without being asked. That is the whole reason you dragged the coasters through customs.
Frequently asked questions about travel scrapbooks
How do I start a travel scrapbook?
Lay everything out within a few days of getting home, while the trip is still sharp. Dump your keepsakes into one spot, pull your photos into a folder, and jot down five moments you want to remember. Build pages from there, grouping by theme rather than by day so you actually finish.
How do I organize travel scrapbook photos?
Group by moment instead of strict chronology. Sort the trip into a handful of themes it actually had, like everything you ate, the wandering, and the one big landmark day, then give each theme its own spread. It reads better than a day-by-day march and makes choosing which photos to print far easier.
What should I include in a vacation scrapbook besides photos?
The flat bits you collected on the way: boarding passes, maps, ticket stubs, postcards, receipts, coasters, and light coins. They date the trip, fill the page, and capture the place in a way photos alone miss. Add a few honest captions and the page feels like the trip instead of a generic getaway.
How do I keep a travel scrapbook from falling apart or fading?
Use acid-free, lignin-free paper and a photo-safe adhesive or photo corners, especially under real prints. Craft-drawer tape and rubber cement are what cause the slow ambering you see in old albums. Spend the extra dollar on the photo-safe version and the trip still looks like itself a decade out.
Can I make a travel scrapbook on my phone or does it have to be paper?
You can do either, but paper is what holds the tactile bits, the coins, the maps, the pressed flower, that make a travel book worth flipping through. Many people print a photo book for the images and keep a small paper scrapbook for the keepsakes a screen cannot hold. The scraps are the whole argument for paper.
Get free junk journal printables
New printables, page ideas, and paper craft tutorials, straight to your inbox.
Scrapbook ideas for your boyfriend that mean something without tipping into cheesy: what to put in it, themes, a ten-page starter order, and how to keep it him.
A beginner guide to scrapbook ideas: how to pick a finishable project, what supplies you actually need, layout and cover basics, and keeping it from feeling like homework.
A doable month-by-month system for a first-year baby scrapbook: what to save, simple beginner layouts, keepsake pages, and the photo-safe basics that keep it from yellowing.
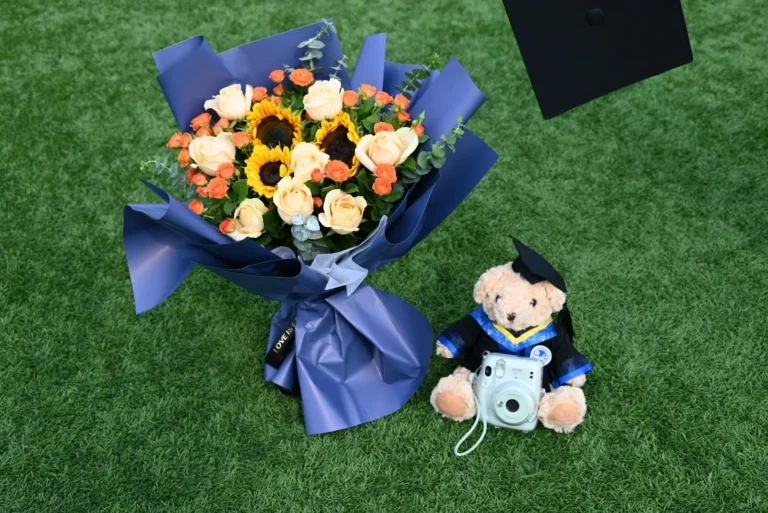
Turn the cap, the tassel, and four years of photos into a graduation scrapbook they’ll keep: what to save, how to gather it as a gift, and how to make it last.
A clear, no-experience-needed process for making your first scrapbook, from sorting photos and picking an album to building pages in short sessions and finishing the cover.
Manage Consent
To provide the best experiences, we use technologies like cookies to store and/or access device information. Consenting to these technologies will allow us to process data such as browsing behavior or unique IDs on this site. Not consenting or withdrawing consent, may adversely affect certain features and functions.
Functional
Always active
The technical storage or access is strictly necessary for the legitimate purpose of enabling the use of a specific service explicitly requested by the subscriber or user, or for the sole purpose of carrying out the transmission of a communication over an electronic communications network.
Preferences
The technical storage or access is necessary for the legitimate purpose of storing preferences that are not requested by the subscriber or user.
Statistics
The technical storage or access that is used exclusively for statistical purposes.The technical storage or access that is used exclusively for anonymous statistical purposes. Without a subpoena, voluntary compliance on the part of your Internet Service Provider, or additional records from a third party, information stored or retrieved for this purpose alone cannot usually be used to identify you.
Marketing
The technical storage or access is required to create user profiles to send advertising, or to track the user on a website or across several websites for similar marketing purposes.


")