The only vision board supplies you actually need to start are a board, some images, scissors, and a glue stick. The Pinterest hauls with the gold-foil stickers and twelve magazine subscriptions are doing one thing well: separating you from your money before you have made a single page.
You set aside a Sunday for this. You printed the photos. You bought magazines you would not normally buy. And now you are standing at the kitchen table with a stack of cutouts, no board, no glue, and a vague worry that you should have ordered some kind of kit. Skip the kit. The kit is a coping mechanism for the part where you do not know what to buy first, and we will sort that out here in two minutes.
Most “vision board supplies” lists online are written to push affiliate links, so they sprawl into thirty items. The real starter list is four. Start with what you have, add a good glue early, and resist the urge to buy stickers before you have placed a single image.
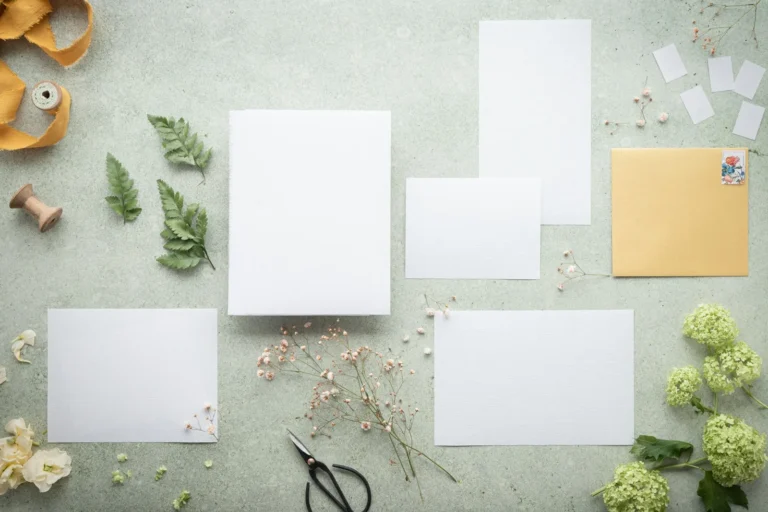
The short version: Start with a board (poster, cork, or foam), a stack of magazine cutouts and printed images, scissors, and a glue stick or tape runner. That is a real vision board, and you can build it for under five dollars or for free. Add quotes, washi tape, and embellishments once your layout exists. Skip the curated supplies pack until you have made one.
You need four things to make a vision board: a board surface, images, a way to cut them, and a way to attach them. Everything else on this page is optional. With those four, you can finish your board today and put it on a wall before dinner.
Here is the actual starter list:
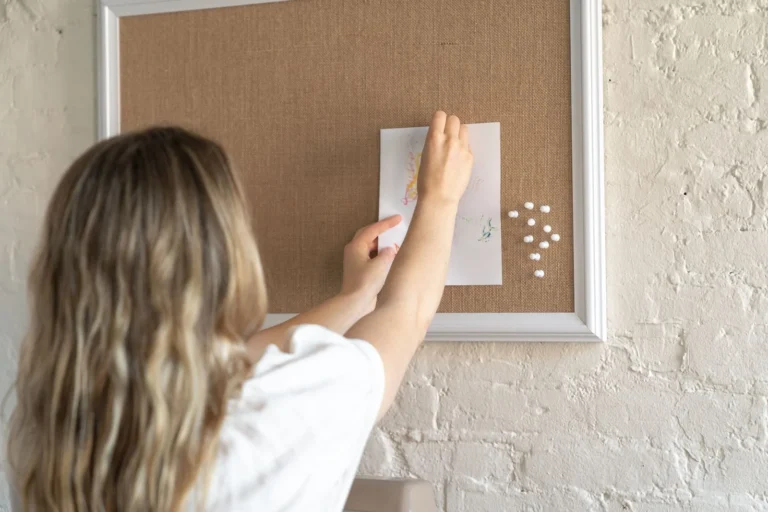
A board. Poster board ($1 at most dollar stores) is the classic. Foam board is sturdier and stands up on a shelf. A cork board lets you swap images out with pushpins, which we recommend for a vision board you keep for the whole year. Any of these works.
Images. Magazine cutouts, printed photos, and printables. You can also use Pinterest screenshots printed four-to-a-page, which is how most modern vision boards actually get built. If you want a free starter pack, we put one together: see our vision board quotes printable post.
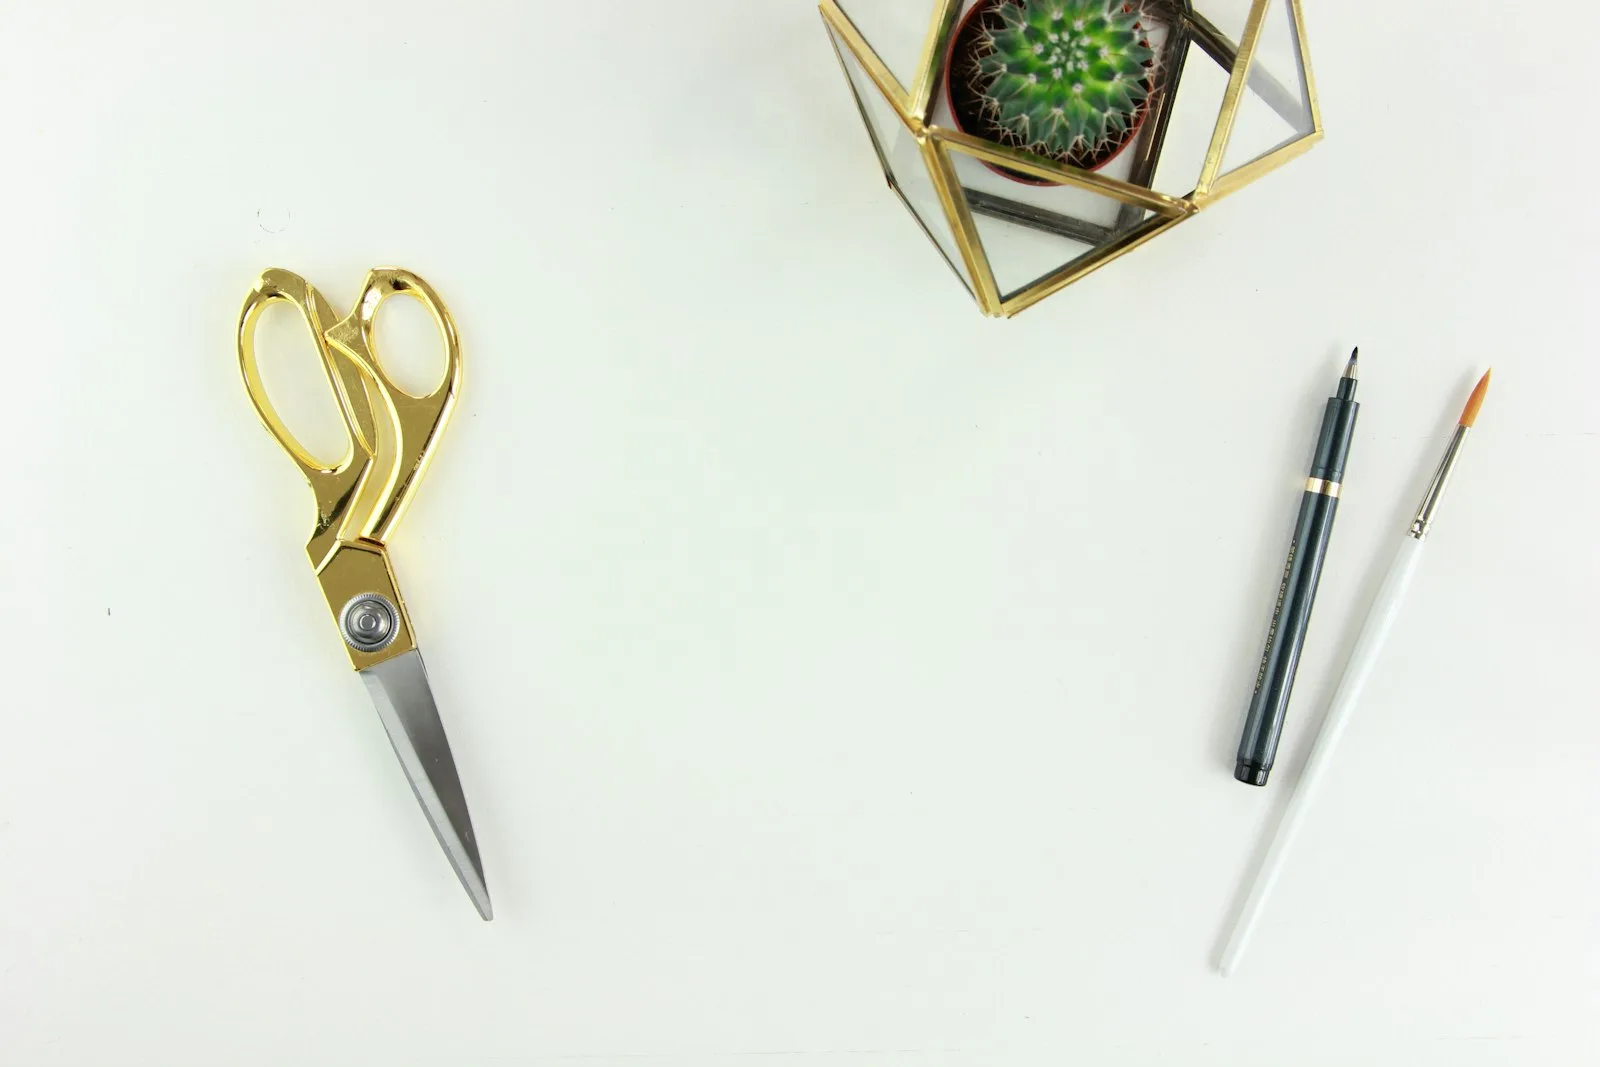
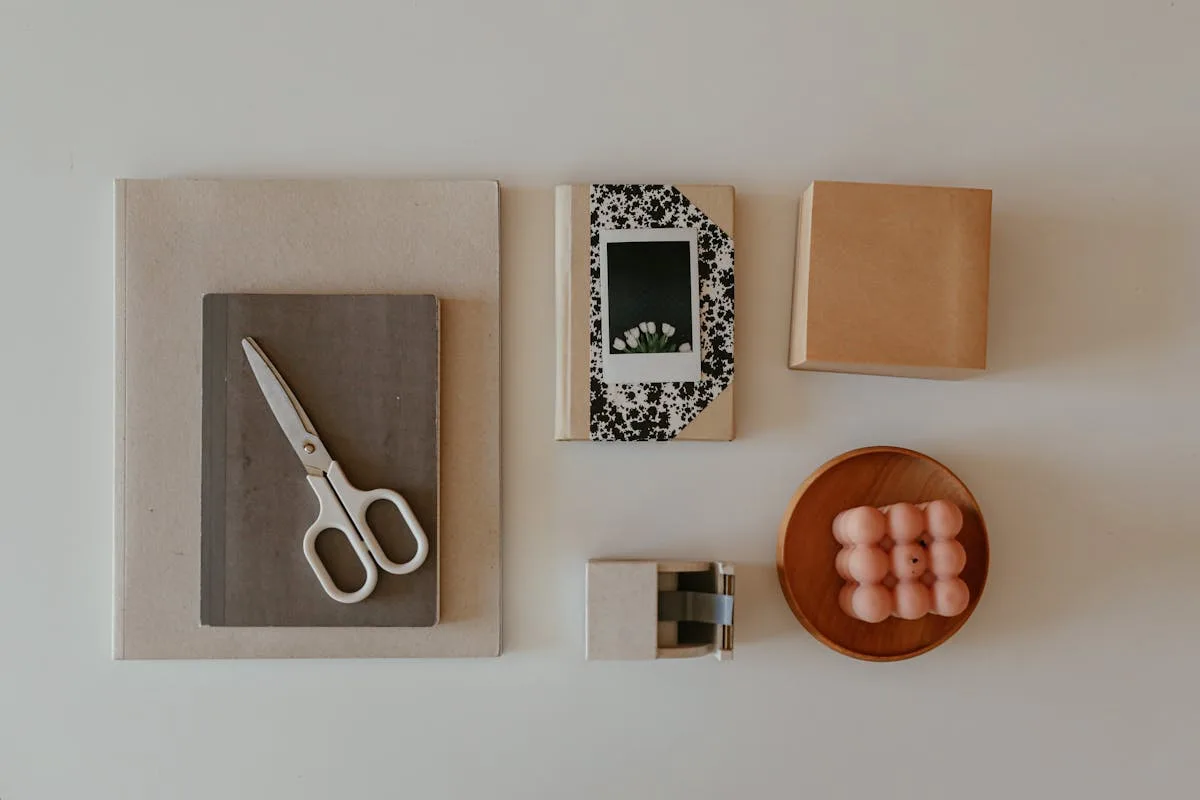
Scissors. A regular pair is fine. A small craft scissors helps for tighter cutouts later.
An adhesive. A glue stick is the cheap default. A tape runner is faster and dry-flat. PVA (white craft glue) is the most secure for heavier paper or fabric pieces. For a cork board, swap glue for pushpins and you are done.
Pick the board first. Then the rest of this page is shopping inside a frame you already chose, which is the whole point. A foam-board build wants slightly different glue than a cork build wants pushpins; if you buy the curated pack first and the board second, you end up with a drawer of stuff you cannot use the way it was sold to you.
The full vision board supplies list (by category)
A complete kit breaks into five groups: the board, cutting tools, adhesives, images and quotes, and embellishments. You will not own everything in every group. Probably should not.
Board and base
This is the single decision worth a few extra minutes. The board sets how the vision board lives the rest of the year.
Poster board is the cheap classic. Light, big, easy to hang with washi tape or Command strips on a rental wall. Bends if you do not back it.
Foam board (or foam core) is rigid, holds up free-standing, and survives being moved around. A few dollars at any craft store.
Cork board turns a vision board into something you can change every month. Pushpins instead of glue. Slightly heavier to hang. Worth it if you want a living board, not a one-shot.
Canvas or wood panel for a vision board that looks more like art. Heavier commitment, but if you plan to keep it visible for a year, it earns the spend.
Bulletin board, magnet board, or chalkboard as alternatives. Anything you can stick paper to, basically.
If you want a side-by-side breakdown of pre-curated bundles, we cover those in our best vision board kits roundup.
Cutting and trimming
Scissors. One regular pair. One small craft scissors for tight curves around faces and objects.
A craft knife and self-healing cutting mat if you cut a lot of straight edges or tight interior shapes.
A paper trimmer is the upgrade that pays off if you make a board more than once a year. Faster, straighter cuts, and gentler on your hands than a scissors marathon.
Adhesives
Adhesive is the one place we tell beginners not to cheap out. Bad glue lifts edges within a week and the board ages badly.
Glue stick: fine for lightweight magazine paper and quick first builds.
PVA glue (white craft glue): the workhorse. Holds heavier images, photo prints, and fabric or ribbon accents.
Tape runner: dry, fast, and flat. Great for photos and laser-printed images.
Washi tape and double-sided tape: part adhesive, part decoration.
Pushpins and small magnets: for cork or magnet boards. The whole point is that nothing is permanent.
Buy this, not that: If you are going to upgrade one item past the freebie kit, make it a small bottle of PVA glue, not a sticker pack. PVA fixes the most common complaint beginners have, which is photos peeling at the corners after a month on the wall. Stickers can wait until you know your layout.
Images, quotes, and printables
This is the part most lists overspend on. You almost certainly have enough imagery in your house and on your phone already.
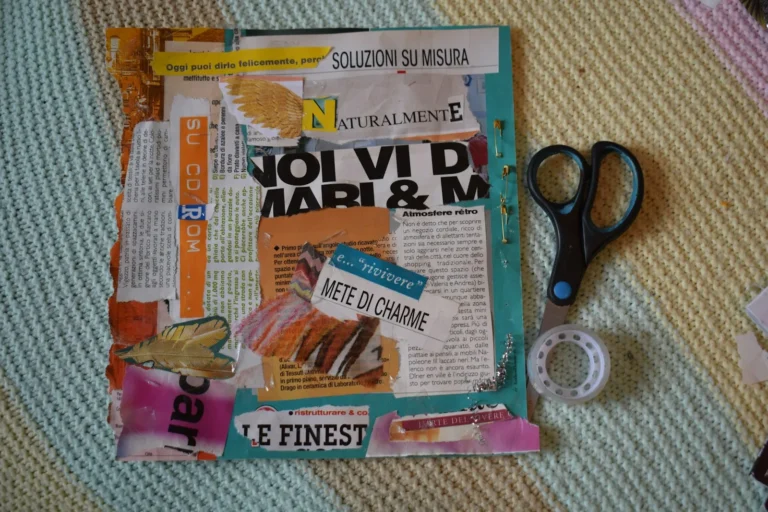
Magazine cutouts. Borrow a friend’s pile, or grab a few at a thrift store for cents. Travel, home, fashion, and food magazines are the densest for vision board imagery.
Printed photos. Phone photos run through a home printer or a one-hour print shop are the most personal source. They make a board feel like your year, not a stock board.
Pinterest boards printed at home. This is how most vision boards actually get built in 2026. Pin to a private board, then print three or four images per page.
Printable vision board kits. Themed paper, quote cards, and frame layouts ready to print. If you want a free pack of quotes and affirmation cards to start with, we have one at our vision board quotes printable guide.
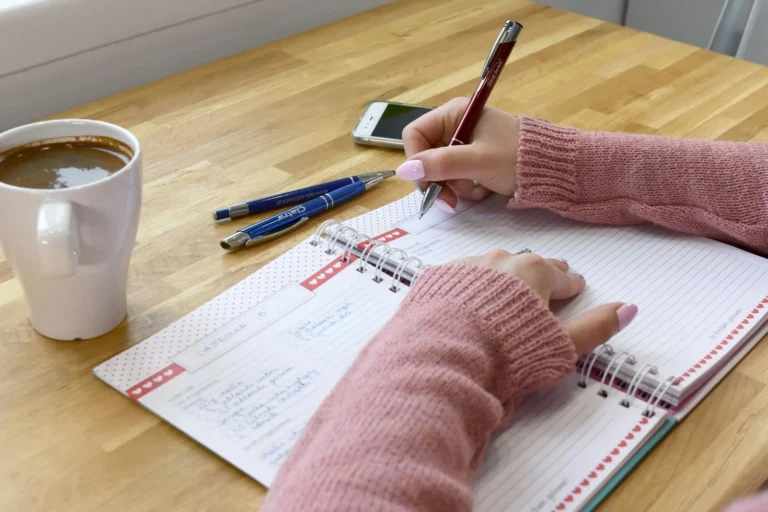
Affirmations and quotes in printed text. Twelve-point quote cards do more work on a board than a hundred random words.
For ideas on what to actually picture, our seasonal 2026 vision board ideas roundup gives you 25 layouts and themes to borrow.
Embellishments
The fun extras. Add slowly, after the layout is decided.
Stickers, washi tape, and patterned paper for borders, dividers, and edges.
Markers and gel pens for handwritten notes and dates. A metallic pen if you like a single shiny accent.
Stamps and ink pads. A small distressing ink pad along the edges of every cutout makes the whole board look intentional rather than printed.
Ribbon, twine, dried flowers, and small fabric scraps for texture and tucked-in details.
Letter stickers or letter stamps for the headline phrase or year, if you like a focal title.
If you would rather start with a fully curated bundle, see our vision board kits roundup.
Where can you find cheap and free vision board supplies?
The cheapest vision board supplies come from things you already own, the dollar store, and free printables. The imagery that does the most work on a board is the kind that means something to you specifically, and that is, by definition, already in your house.
Where to look first:
Your phone and home printer. A free pack of phone photos printed four-to-a-page is the single biggest unlock. No magazines, no waiting.
The dollar store. Poster board, scissors, glue stick, tape, basic stickers, sticky letters, and cork tiles for a couple of dollars. Search “dollar tree vision board supplies” on Pinterest and you will see entire boards built this way.
Thrift shops and library book sales. Old magazines, art books, and travel guides for change. Lace, ribbon, sewing notions.
Free printables. Quotes, affirmation cards, and themed paper you print at home. We keep a small pack in the vision board quotes printable.
Your magazine pile. The one in the corner. The one you have been “going to recycle.” There it is.
Spending little is not a compromise on a vision board. The cheaper the materials, the looser the grip, and the easier it is to redo the board in three months when your year clarifies.
How do you display and organize a vision board?
Hang the board somewhere you cannot miss it on the way to coffee, and keep the leftover supplies in one shallow tray so re-working it takes five minutes, not a project. A board on the inside of a closet door is a board you stop seeing.
A setup that works:
Hang the board at eye level in a spot you pass every morning. Bedroom wall by the mirror, behind the desk, kitchen wall by the coffee setup. Not the inside of a drawer.
Use Command strips, washi tape, or pushpins if you are a renter. Your walls thank you, and you can move the board when your year evolves.
Keep a “vision board tray” with leftover cutouts, glue, scissors, and a few quote cards, ready to grab.
Photograph the board every month on your phone. It becomes a low-effort journal of what you cared about, even after you take the physical board down.
A vision board that lives in a binder gets forgotten. One that lives on the wall, gets a new photo added in March, and a couple of cutouts swapped in July, is doing exactly what it should.
What is the difference between supplies and a vision board kit?
Supplies are the individual materials you gather; a kit is a curated bundle of board, paper, quote cards, and embellishments sold together. Kits are faster to start with, while building your own stash is cheaper and more personal to your year.
For most beginners, a free printable pack plus a dollar-store poster board is the sweet spot. You skip the choice paralysis of building from zero, without paying $40 for a kit you could assemble for $5. We compare both routes in the vision board kits post.
If you are still working out whether a vision board is for you in the first place, our vision boards for manifesting explainer is the better place to start. That one is about why and how the practice works, before you spend a cent on supplies.
Frequently asked questions about vision board supplies
What do I need to start a vision board?
A board, a few images, scissors, and a glue stick. You can build a real vision board for under five dollars at the dollar store, or for free if you raid your magazine pile and the family printer. Everything past the four basics is optional.
What is the best board to use for a vision board?
Poster board is the cheapest and works fine for a one-year board. Foam board is sturdier and stands free on a shelf. A cork board is the upgrade pick because you can swap images all year with pushpins, no glue. Pick by how often you plan to update it.
Can I make a vision board on my phone or computer?
Yes. A digital vision board built in Canva or a photo collage app can be your phone wallpaper, lock screen, or printable. Most people do best with a physical board they pass every day, but digital is real and works, especially for travel-heavy lifestyles.
How much should I spend on vision board supplies?
You can build a complete board for zero to five dollars. A common ceiling for a “nice” starter kit is twenty dollars, which gets you a foam board, photo prints, a glue stick, a few magazines, and a small embellishment pack. Past that, you are paying for aesthetic, not function.
Do I need special acid-free paper for a vision board?
Not for a one-year board. Magazine paper and standard printer paper hold up fine for twelve months on a wall, and you are probably going to remake the board next January anyway. If you want it to last several years, use acid-free paper and PVA glue, which is what bookbinders use for the boring reason that regular paper yellows and goes brittle on you somewhere around year three.
Start with what you have today
You have a phone full of photos, a magazine pile in the corner, scissors in the kitchen drawer, and probably a half-used glue stick in a desk drawer somewhere. That is a vision board.
When you are ready to build out, do it slowly and in this order: a better board (cork if you want to keep updating it through the year), a small bottle of PVA glue, a stack of quote cards, then embellishments last. For ideas on what to put on the board once you have the materials, see our 2026 vision board ideas roundup. Still unsure if the whole practice is for you? Start with vision boards for manifesting, then come back here for the shopping list.
Want a printable to start with? Grab our vision board quote-card pack: a small bundle of anchor lines and affirmation prompts you can print at home and glue straight on the board. Sign up below and we will send it over.
Get free junk journal printables
New printables, page ideas, and paper craft tutorials, straight to your inbox.
Cork beats poster board for any vision board you keep more than a season. The four kinds of cork, how to mount on a rental wall, what you really need, and the maintenance habit nobody mentions.
A vision board kit is worth buying if it solves the blank page problem for you, and is a waste of money if you would have collected most of the same stuff on your own at the dollar store. The price has very little to do with the result; what a $30 kit actually buys…
The vision board materials that actually matter and the ones to skip. Black foam board over poster, tape runner over glue stick, magazines, and the three quiet upgrades nobody puts in a kit.
Money manifestation affirmations that actually work, plus the ones that backfire. Forty believable money affirmations by situation, and how to use them daily.
Eleven free vision board printables across templates, quote cards, worksheets, themed paper, and trackers. The categories that actually help and the ones to skip.
The seven vision board books worth reading, sorted by who each one is for. Plus the patterns that quietly mark a book as filler before you spend the money.
Manage Consent
To provide the best experiences, we use technologies like cookies to store and/or access device information. Consenting to these technologies will allow us to process data such as browsing behavior or unique IDs on this site. Not consenting or withdrawing consent, may adversely affect certain features and functions.
Functional
Always active
The technical storage or access is strictly necessary for the legitimate purpose of enabling the use of a specific service explicitly requested by the subscriber or user, or for the sole purpose of carrying out the transmission of a communication over an electronic communications network.
Preferences
The technical storage or access is necessary for the legitimate purpose of storing preferences that are not requested by the subscriber or user.
Statistics
The technical storage or access that is used exclusively for statistical purposes.The technical storage or access that is used exclusively for anonymous statistical purposes. Without a subpoena, voluntary compliance on the part of your Internet Service Provider, or additional records from a third party, information stored or retrieved for this purpose alone cannot usually be used to identify you.
Marketing
The technical storage or access is required to create user profiles to send advertising, or to track the user on a website or across several websites for similar marketing purposes.


")
")

")