Every January it goes the same way. You buy the notebook, you fill in three perfect days, then life happens, you miss a Tuesday, and the unmarred pages start to feel like an accusation. By the twentieth the notebook is in a drawer and you have decided you are just not a bullet journal person. You are. The problem was never you. It was starting with a setup built for someone three years in.
Here is the reassuring part: you can start a bullet journal in about twenty minutes, with one notebook and one pen, and you do not need to know what you are doing first. The whole point of the system is that it teaches you as you go. You set up a handful of simple pages, learn a tiny shorthand, and you are running.
This guide walks the setup step by step, the plain version, the one that survives a missed Tuesday.
The short version: To start a bullet journal, get a dot-grid notebook and a pen, then set up four basics in order: an index, a future log, a monthly log, and your first daily log. Learn rapid logging, a dot for tasks, a dash for notes, a circle for events, and start capturing your day. Skip the decoration entirely at first. Set up today, use it for a week, and let your layouts evolve from what you actually reach for.
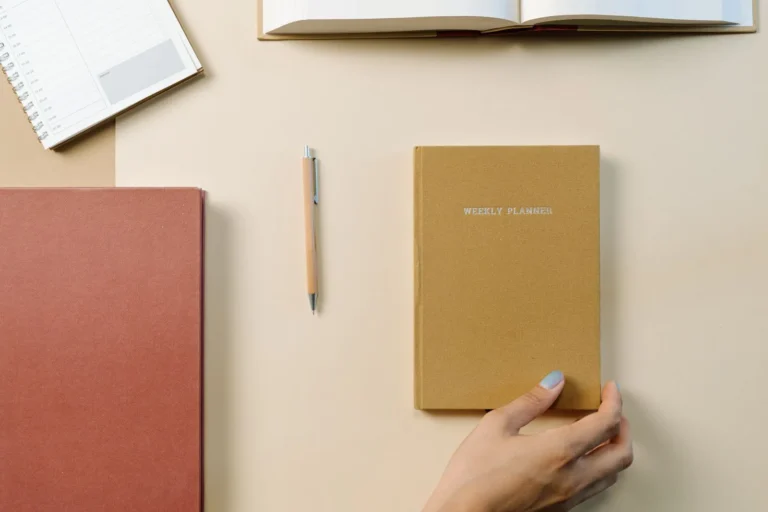
Step 1: Get a notebook and a pen (that is the whole shopping list)
Resist the supply haul. You need a notebook and something to write with, and you almost certainly own a workable version of both already.
A dot-grid notebook is the standard pick because the faint dots guide your lines and spacing without the boxed-in feeling of full graph paper. Any decent dotted notebook gets you started. For the pen, anything that writes cleanly and does not bleed through to the next page will do for week one. When you are ready to choose gear you will keep for years, our best bullet journal supplies guide covers the notebooks and pens worth the money, and the ones that are pure want. For right now, grab what is on your desk and move on.
Step 2: Set up your index
Leave the first two or three pages blank and label them Index. That is the whole step.
As you create pages later, a monthly log, a habit tracker, a reading list, you write its topic and page number in the index. It is the unglamorous backbone that turns a notebook of scattered pages into something you can search. Number your pages as you go if your notebook did not come pre-numbered, and the index does the rest.
Step 3: Set up a future log
Turn to a fresh spread and divide it into six boxes, one per month for the next half year. Label them.
This is where anything too far away for a daily page goes to wait: a birthday in May, a dentist appointment in March, the trip you booked for August. Without a future log, those land on a sticky note and vanish. With one, they have a home until the month they belong to arrives. If dividing a page freehand feels fiddly, this is exactly the kind of layout worth printing free first, more on that below.
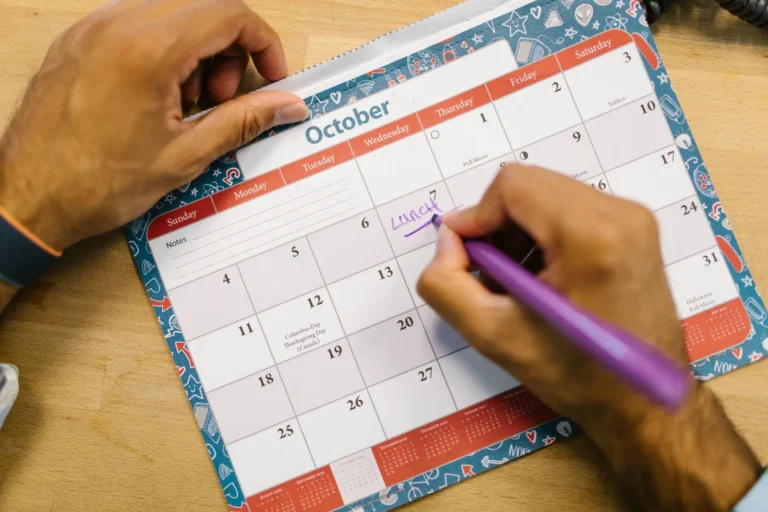
Step 4: Set up your first monthly log
At the top of a new page, write the current month. Down the left edge, list the dates of the month with a letter for each day of the week beside them. That is your calendar view. On the facing page, jot a short list of what this month is actually about: the few tasks and goals that genuinely matter before the daily to-dos crowd them out.
The monthly log is the page you glance at on a slow Sunday to see what the next few weeks hold. Once a month you set it up, pull anything due from the future log, and you have a map of the weeks ahead in five minutes.
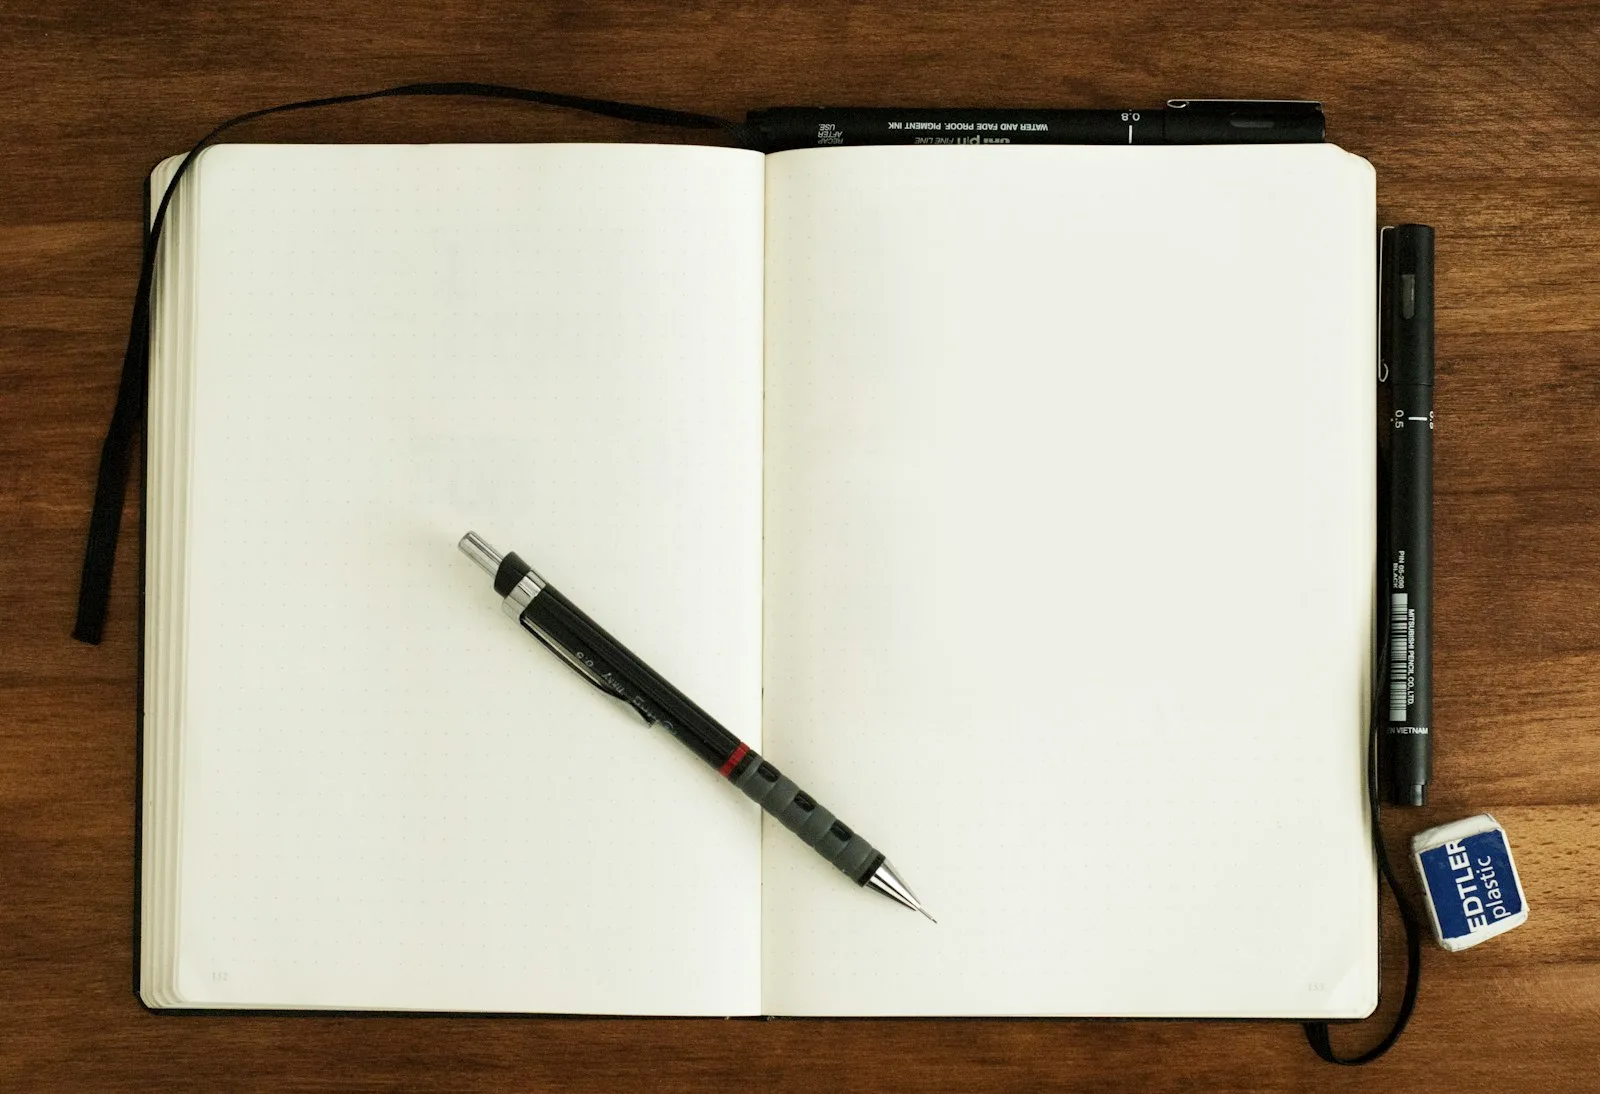
Step 5: Start your first daily log and learn rapid logging
This is the heart of the system, and the one bit of shorthand worth learning properly.
Write today’s date as a header. Then start capturing your day in short entries, each marked with a small symbol that tells you what kind of thing it is. That shorthand is called rapid logging, and it is most of the entire bullet journal system:
A dot (•) is a task, something you need to do.
A dash (-) is a note, a fact, an idea, a thing you want to remember.
A circle (○) is an event, something scheduled or something that happened.
Then the symbols change as tasks move:
Mark the dot with an X when a task is done.
Turn the dot into a forward arrow (>) when you migrate a task to another day or month.
Turn it into a back arrow (<) when you schedule it into your future log instead.
Add an asterisk (*) to the left of anything important, so the priorities on a page stand out at a glance.
That small set covers almost everything. A page of rapid-logged entries reads in seconds because the symbols do the sorting your eye would otherwise have to do. Keep a tiny key on one of your first pages while the symbols are still new, and within a week you will be using them without thinking. We go deeper on building out your own symbol set in the bullet journal key and symbols guide.
Step 6: Add one tracker, if you want one
Not required for week one, but a single tracker is the fastest way to feel the system pay off. The most common starter is a habit tracker: a small grid with a few habits down one side and the days of the month across the top, filled in daily. Watching a streak build is quietly motivating, and a gap is information, not a verdict. Our bullet journal habit tracker guide has layouts to copy.
Add only one to start. A page of twelve trackers you set up on day one is a page you will resent maintaining by day four.
Step 7: At month’s end, migrate
When the month closes, set up next month’s monthly log, then look back at your open tasks. For each unfinished one, make a small decision: is this still worth doing? If yes, rewrite it onto the new page (that is migrating it). If no, cross it off and let it go.
The small effort of rewriting is the point. It filters the tasks that matter from the ones that were never going to happen. Ten minutes, a pen, and an honest look at the list. The hub guide on bullet journaling digs into why this one habit does more for the system than any supply.
What to skip in your first month
The fastest way to keep a bullet journal is to not overload it.
Skip the decoration. No themes, no lettering, no doodles yet. Plain ink, straight lines. The art is a separate hobby you can pick up once the habit holds.
Skip the complex spreads. That elaborate layout you pinned took practice and time you do not have on day one. Copy the plainest version of it instead.
Skip the guilt over blank days. Miss a few, leave them empty, and start again at today. There is no penalty and no catching up to do.
Skip buying anything else. One notebook, one pen, for at least a month. Add a supply only when you hit a real wall.
Practice on free printables before you commit
If a blank notebook still feels intimidating, do not start there. Print a few free layouts, a monthly log, a daily page, a habit tracker, and run them loose for a week or two. You find out which spreads you actually use before you commit them to a notebook you paid for, and the setup steps above get a lot less daunting when you have already seen the layouts filled in.
Creative Fabrica has a broad library of free printable bullet journal pages and trackers you can download and test today, and our free bullet journal templates post collects a starter set. Once you know your style, the bullet journal page ideas gallery gives you layouts to graduate to.
Frequently asked questions about starting a bullet journal
How do I start a bullet journal for the first time?
Get a dot-grid notebook and a pen, then set up four pages in order: an index, a future log, a monthly log, and your first daily log. Learn the basic rapid-logging symbols (a dot for tasks, a dash for notes, a circle for events) and start capturing your day. Skip decoration entirely at first, and let your layouts evolve from what you actually use.
What do I need to start a bullet journal?
Just two things: one dot-grid notebook and one pen that does not bleed through the page. That is the honest starter kit. Brush pens, stencils, washi tape, and colored markers are optional decoration you can add later, and many people never bother. Begin with what you have and upgrade only once you know you will keep it.
How long does it take to set up a bullet journal?
About twenty minutes for the basics. Setting up an index, a future log, and a monthly log is quick because none of it needs to be perfect or pretty. Your daily log takes seconds a day. The setup is short by design, since a system that took an hour to maintain is one you would quit.
What is rapid logging in a bullet journal?
Rapid logging is the bullet journal’s shorthand for capturing thoughts fast: short entries each marked with a small symbol. A dot is a task, a dash is a note, a circle is an event, and the symbols change as tasks get done or moved. It lets a whole day’s worth of tasks, notes, and events sit on one page and read at a glance.
Can I start a bullet journal in the middle of the year?
Yes, and there is no disadvantage to it. Set up your index, a future log for the months ahead, and a monthly log for the current month, and you are running. The system does not care what date you begin, only that you have a fresh page to start on.
Your first page is the only hard one
The blank notebook feels like a test until you write the first line on it, and then it is just a notebook. Set up your index, block out a future log, draw this month’s calendar, and rapid-log the three things actually on your mind today. That is a working bullet journal. Everything else, the trackers, the layouts, the eventual splash of color, is something you add once the habit is yours.
When you are ready for more, the bullet journal hub covers the whole system, page ideas gives you spreads to borrow, and the supplies guide helps you choose gear once you know you will keep going. The notebook you almost gave up on in January is waiting for one plain page. Give it today’s date and three lines, and you have already started.
Want a setup you can print and follow? Our free printable bullet journal starter kit includes a monthly spread, a habit tracker, and a daily log, ready to print and fill in this week. Sign up below and we will send it over.
Get free junk journal printables
New printables, page ideas, and paper craft tutorials, straight to your inbox.
You flip back through last month and one thing jumps out before you read a single word: the Sundays are all the same grey. You never noticed it living through them, one ordinary low Sunday after another blurs into “fine,” but colored in across a page, the pattern is impossible to miss. That is the…
You bought the notebook for the look of it, the clean dotted pages, the promise of spreads like the ones you saved. Then you tried to draw a straight habit-tracker grid freehand, the lines wandered, the boxes came out different sizes, and the page you meant to keep for a year looked like a rough…
You spent the better part of an evening on a spread you were proud of. Headers lettered, a tracker laid out, a little color in the corners. Then you turned the page to start the next day and there it was, the whole layout ghosting through from the back, the marker bleeding into shadows of…
You opened someone’s bullet journal once, maybe a friend’s, maybe a photo online, and the page looked like a code you were not cleared for. Dots and dashes, little arrows, a star in the margin, one task with a neat line through it. It seemed like you needed a decoder ring just to read a…
You drew the grid on the first of the month, thirty-one little squares marching across the page, eight habits stacked down the side, and for nine days it was glorious. Every square filled in, a wall of color, proof you were finally becoming the person who flosses and stretches and drinks the water. Then the…
Sunday night, fresh week ahead, and you are staring at two blank pages trying to remember how you laid out last week, the good one, the week the journal actually worked. Was it the vertical columns? The one with the box in the corner for the brain dump? You cannot quite recreate it, so you…
Manage Consent
To provide the best experiences, we use technologies like cookies to store and/or access device information. Consenting to these technologies will allow us to process data such as browsing behavior or unique IDs on this site. Not consenting or withdrawing consent, may adversely affect certain features and functions.
Functional
Always active
The technical storage or access is strictly necessary for the legitimate purpose of enabling the use of a specific service explicitly requested by the subscriber or user, or for the sole purpose of carrying out the transmission of a communication over an electronic communications network.
Preferences
The technical storage or access is necessary for the legitimate purpose of storing preferences that are not requested by the subscriber or user.
Statistics
The technical storage or access that is used exclusively for statistical purposes.The technical storage or access that is used exclusively for anonymous statistical purposes. Without a subpoena, voluntary compliance on the part of your Internet Service Provider, or additional records from a third party, information stored or retrieved for this purpose alone cannot usually be used to identify you.
Marketing
The technical storage or access is required to create user profiles to send advertising, or to track the user on a website or across several websites for similar marketing purposes.


")